Knowledge Base
Search by either entering keywords or by selecting a product.
Adding NFS to Windows Storage Server 2012
Network File System (NFS) is a file system protocol that allows users on a client device to access files over a network as if the files are locally stored.
- Open "Server Manager" and choose "Local Server".
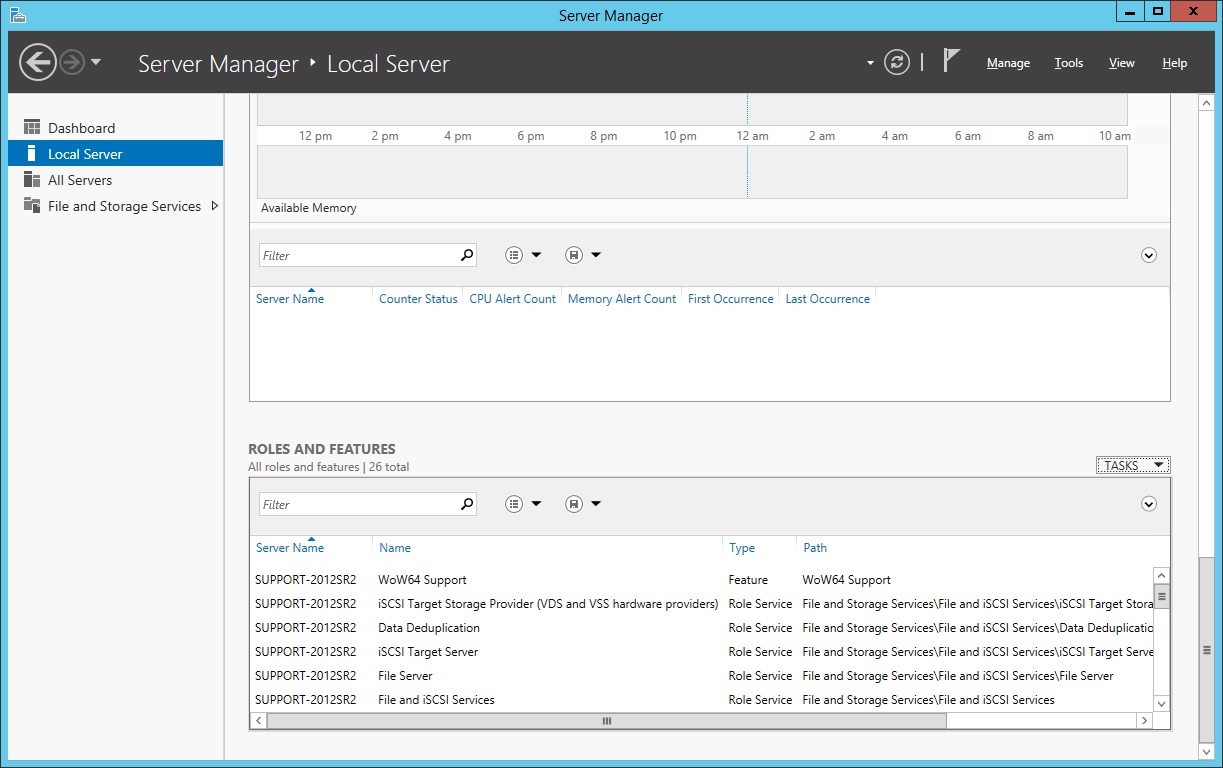
- Scroll to the bottom to find "Roles And Features".
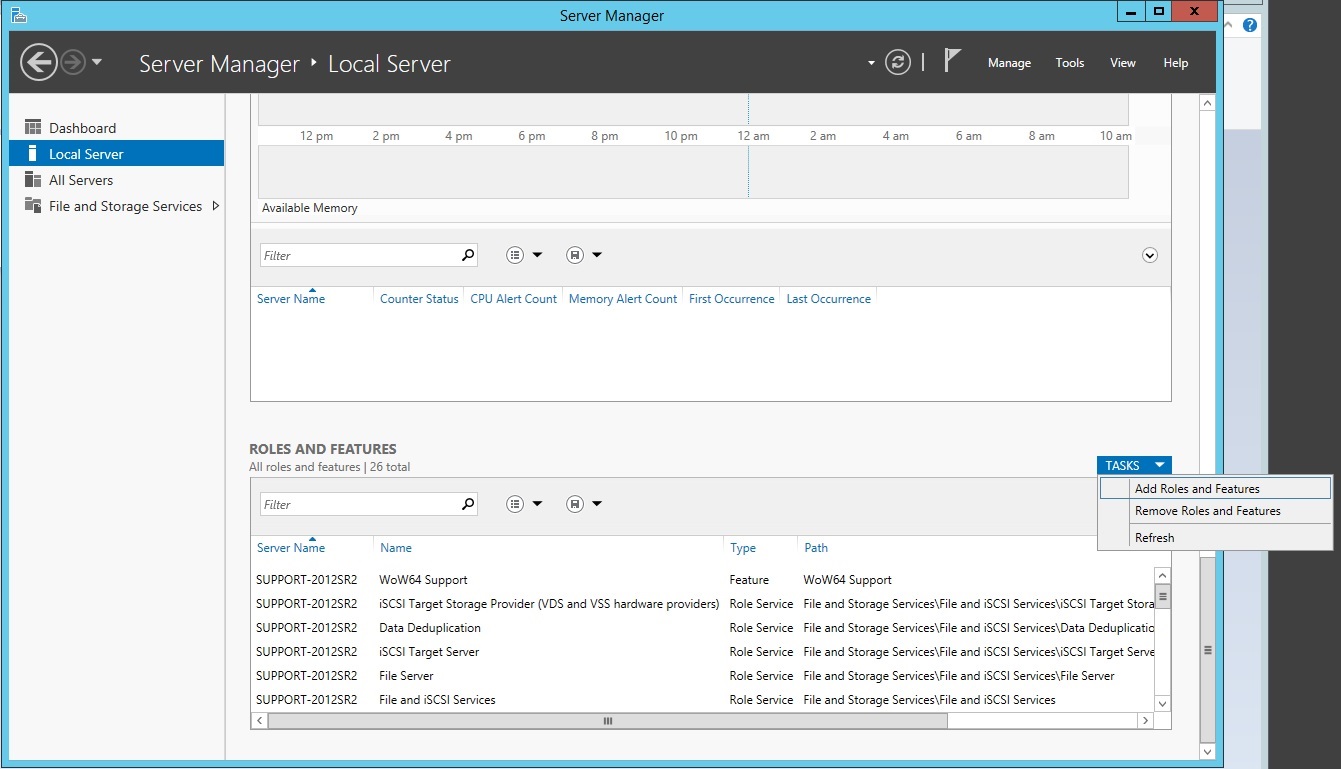
- Click the "Tasks" dropdown on the right and select "Add Roles and Features".
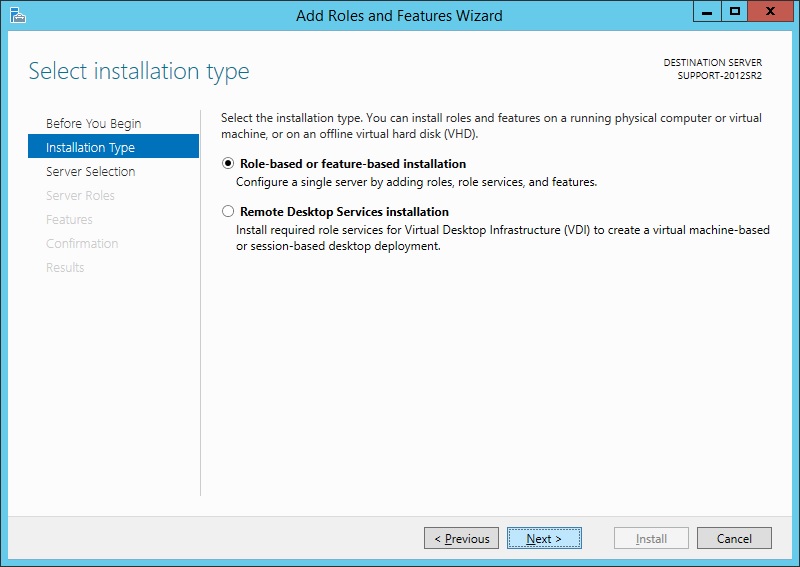
- Leave the default option selected and click Next.
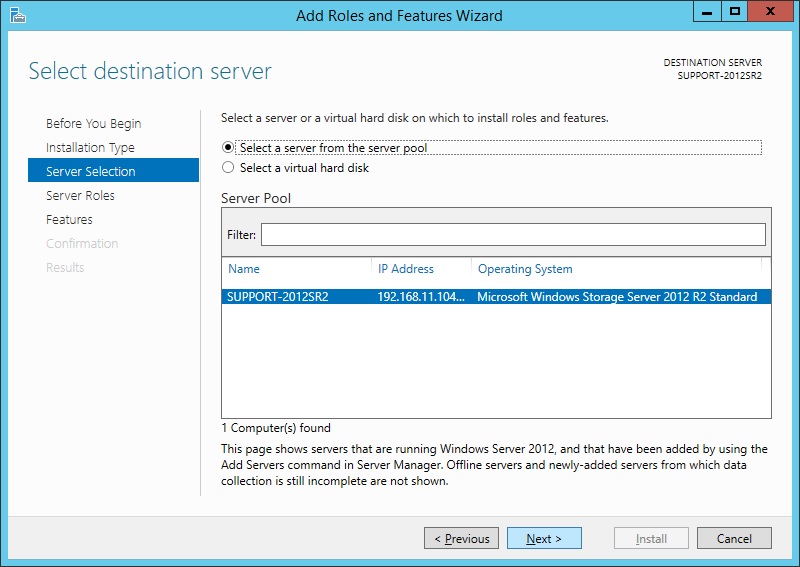
- If multiple servers are listed, make sure the correct server is chosen and click Next.
- Scroll though the roles list to find "File and Storage Services" and expand it. Under that heading, expand "File and iSCSI Services". Under that heading, locate "Server for NFS" and click it.
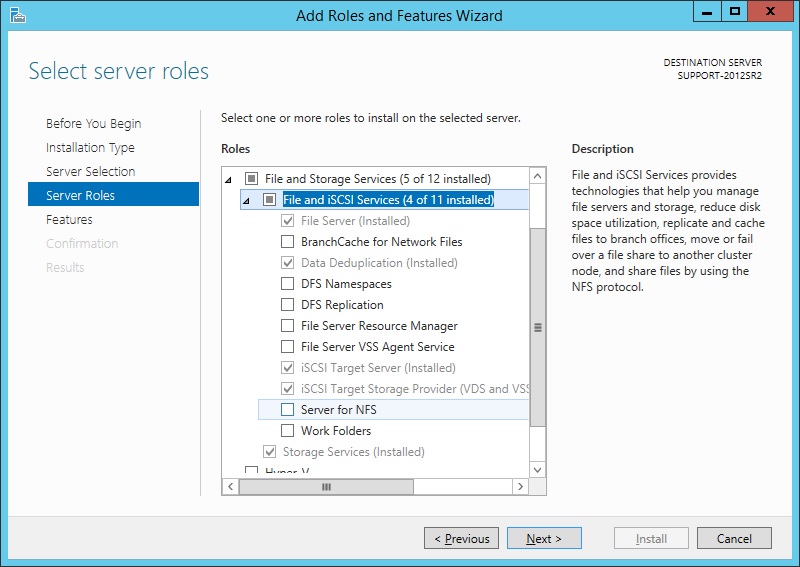
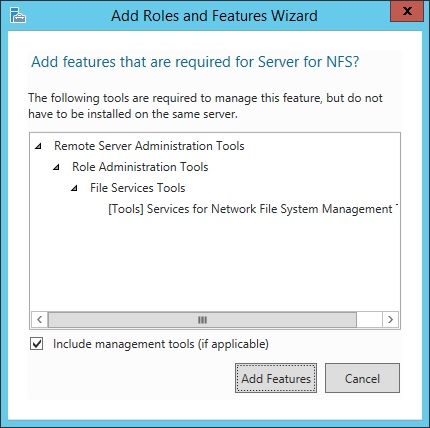
- A pop-up will appear advising that a feature is required for this role. Click Add Features.
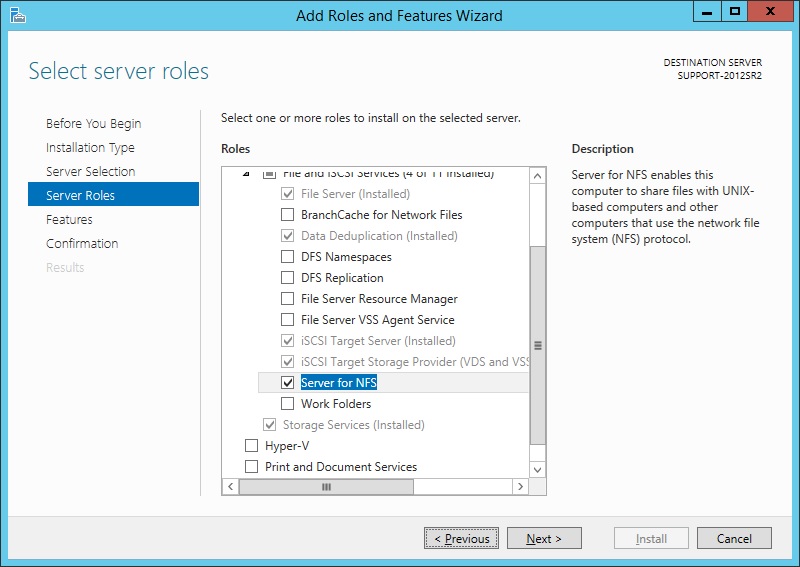
- Verify that the "Server for NFS" role is selected and click Next.
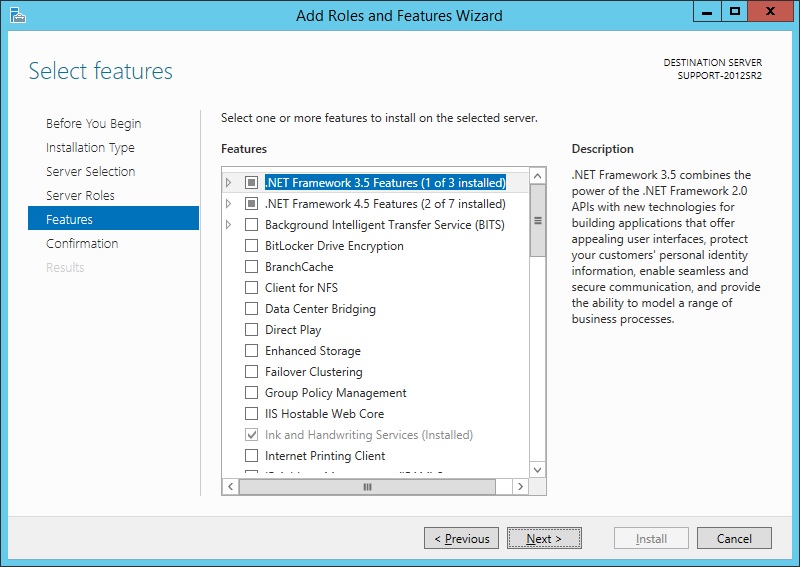
- No further features need to be selected at this point. Click Next.
- Typically a restart is not required to add this role, but on this screen you can choose to restart automatically if needed. If a restart is required but not selected, the role will not be installed until the server is restarted manually.

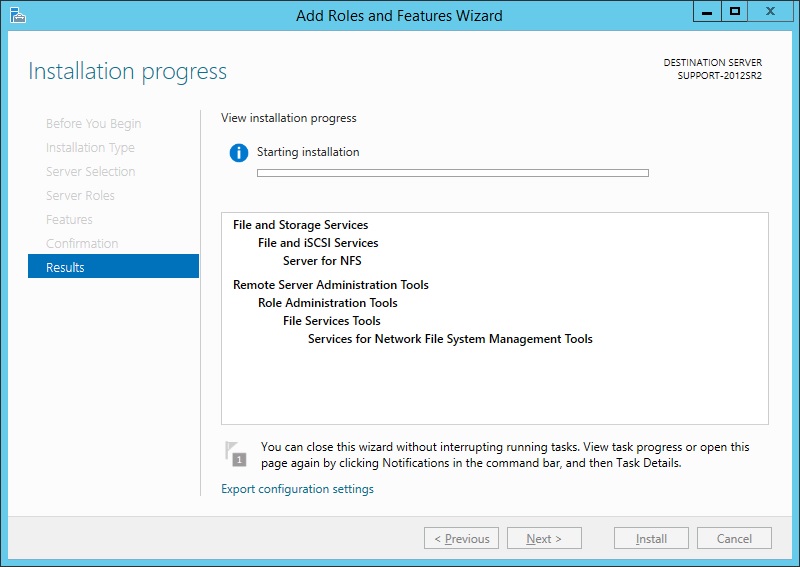
- The installation should take 5-10 minutes.
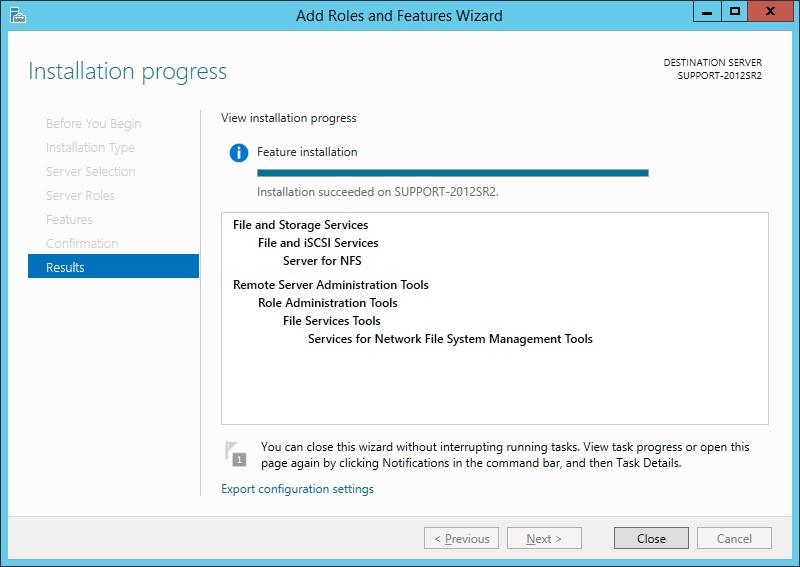
- Once the installation finishes, click Close.
- At this point you should now have a separate tab available in the folder properties sheet for "NFS Sharing".
