Knowledge Base
Search by either entering keywords or by selecting a product.
Configuring FTP on a TeraStation
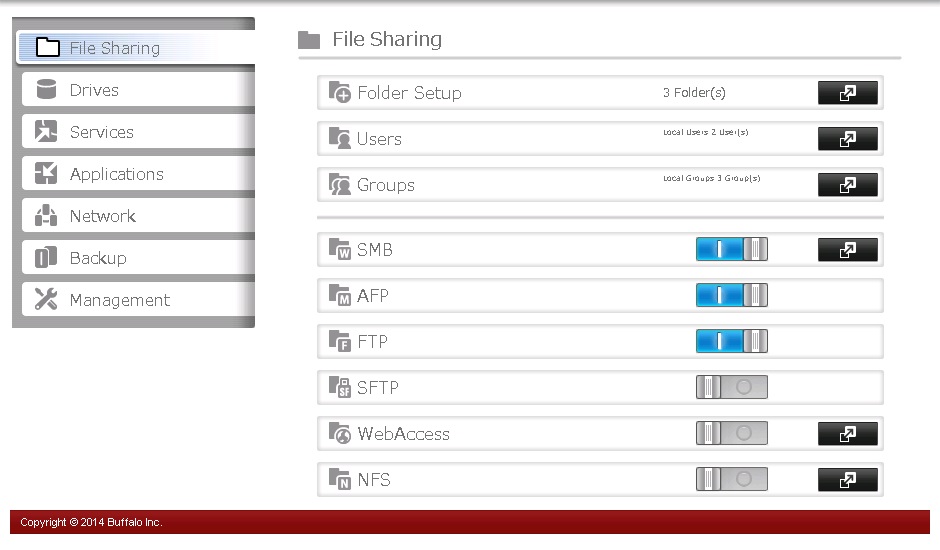
- Log in to Settings for the TeraStation and click on the virtual slide switch next to "FTP" to turn on the service. Once the service is active, the virtual slide switch should indicate that the service is now on. Click on the setup icon to the right of "Folder Setup" to bring up the "Shared Folder List".
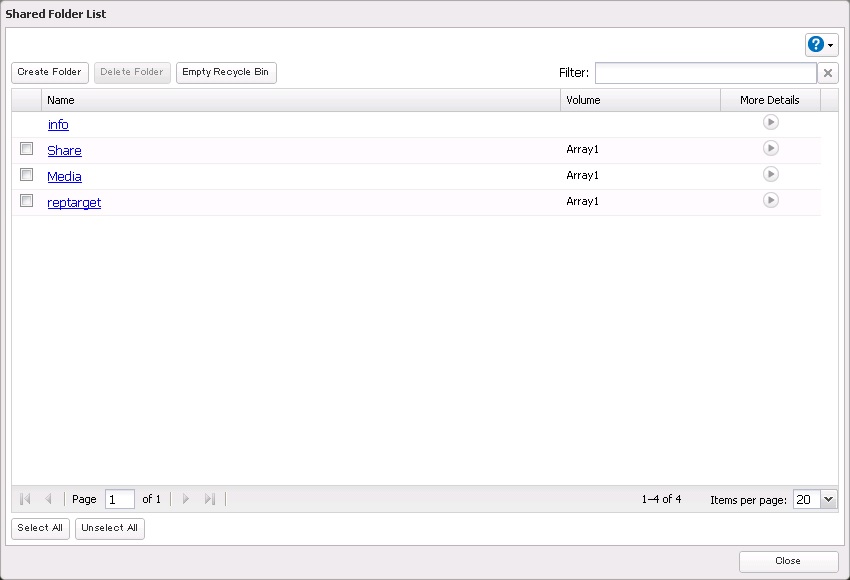
- Click on the shared folder that you want to use for FTP. If you want to create a new shared folder to use for FTP follow the steps here.
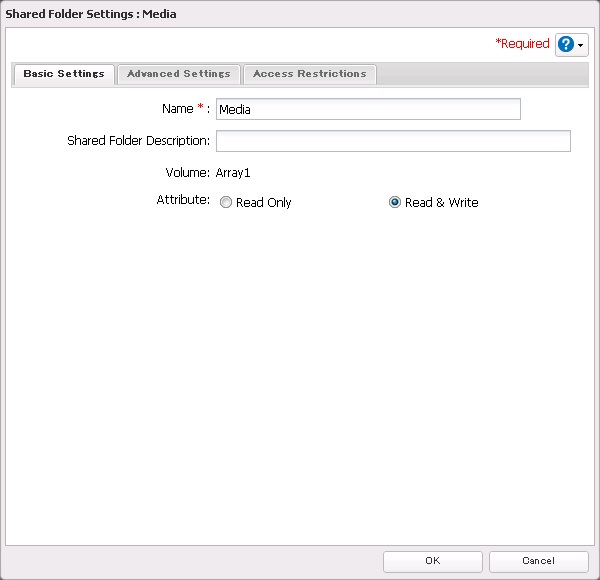
- Depending on the firmware version of your TeraStation, you may see the dialog box below. If so, click on the "Advanced Settings" tab. If not, click Edit at the bottom right.
- Click the checkbox for "FTP" to enable FTP on this folder.
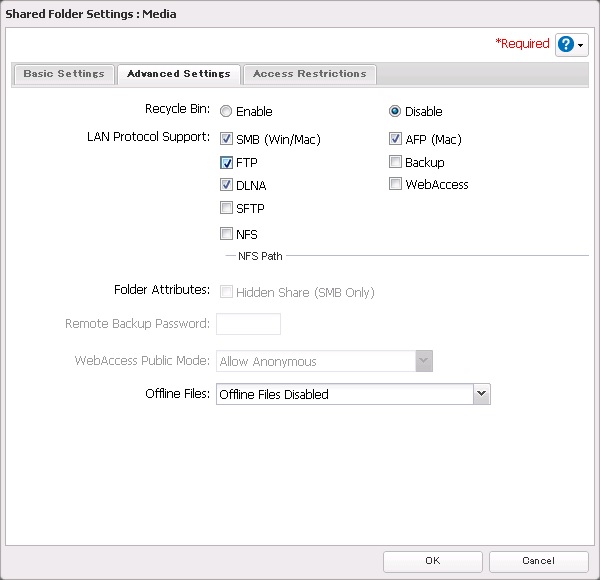
- Once you have FTP enabled, click OK to save changes.
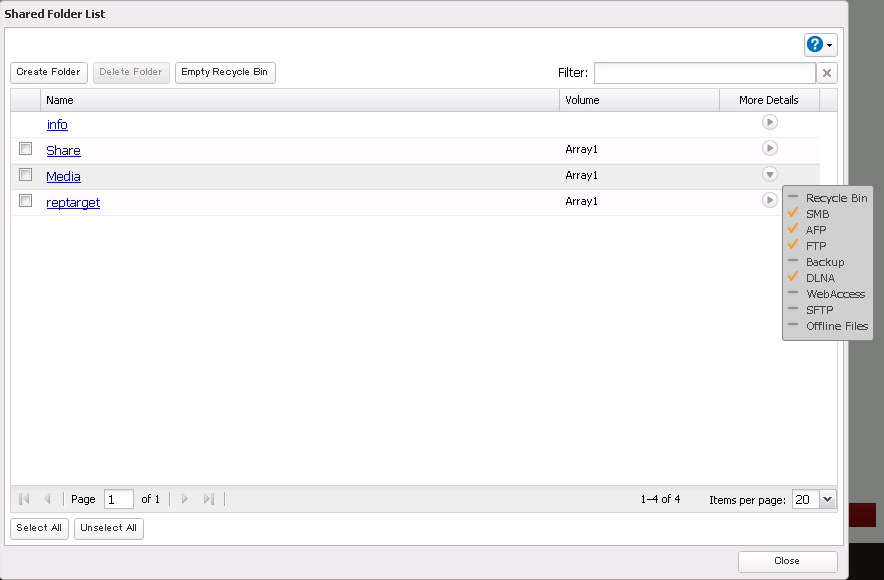
- The folder should now show that FTP is enabled in the "Shared Folder List".
That folder on the TeraStation can now be accessed with an FTP client such as WinSCP, FileZilla, CuteFTP, or a command line utility.