Knowledge Base
Search by either entering keywords or by selecting a product.
Configuring DLNA on a Buffalo LinkStation
NOTE: DLNA and the USB Device Server functionality are incompatible. Be sure to disable the USB Device Server function if you wish to use DLNA.
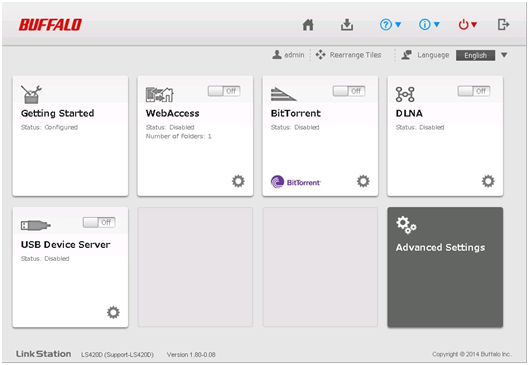
- Access Settings, the LinkStation's web user interface, by entering the current IP address of the unit into a web browser. If the current IP is unknown the unit can be located using NASNavigator. If NASNavigator is not installed, download and install the application from the Buffalo downloads page.
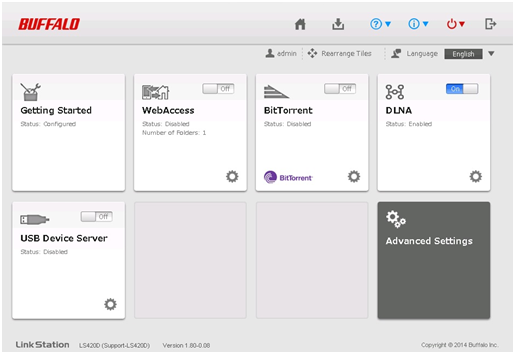
- From the main page click on the virtual slide switch in the "DLNA" box to enable DLNA on the LinkStation.
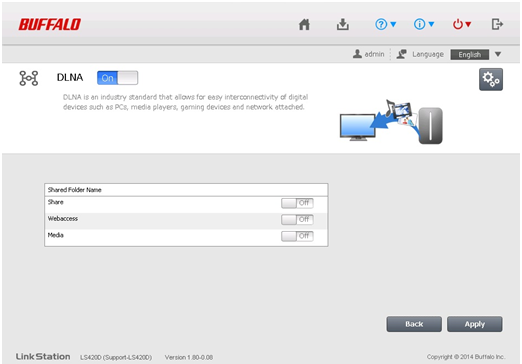
- Once DLNA is enabled, click the gear icon on the DLNA box to select which folders will be used for DLNA.
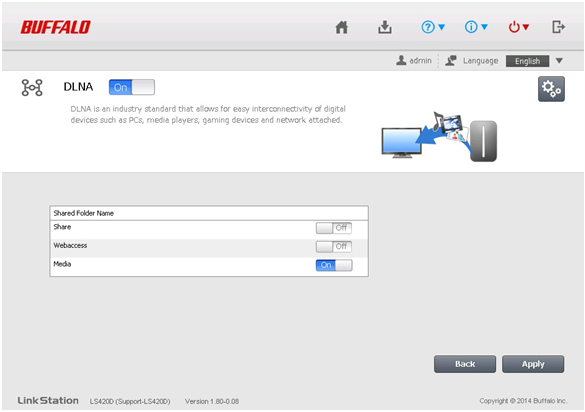
- Click the virtual slide switch next to the folder you wish to use for DLNA. In our example, we'll be using the "Media" folder. If you wish to create a new folder for use with DLNA, follow the steps outlined here.
- Once you have the correct folder turned on for DLNA, click Apply to finish the process.
Once the process finishes everything should be ready to go. Copy the files you wish to share via DLNA into the appropriate folder.