Knowledge Base
Search by either entering keywords or by selecting a product.
Configuring WebAccess on a Buffalo AirStation
WebAccess is a cloud service provided by Buffalo that allows you to access your NAS remotely over the Internet. You can share content with everyone or with specified users only. You can set up WebAccess through your NAS, or enable the service on your AirStation.
If you have a BuffaloNAS.com account, you can use its login to use WebAccess. You can also use your DDNS hostname or an external IP address along with the port used for WebAccess.
- Connect the AirStation to a computer with an Ethernet cable and power both devices on.
- Make sure a NAS unit is connected to the AirStation and powered on. WebAccess should be already configured on the NAS unit. For information on configuring WebAccess for a Buffalo LinkStation, click here.
- Launch a web browser and enter the AirStation's IP address into the address bar. If you do not know the AirStation's IP address, check the setup card included in your AirStation's package, or use AirStation Configuration Tool to display it.
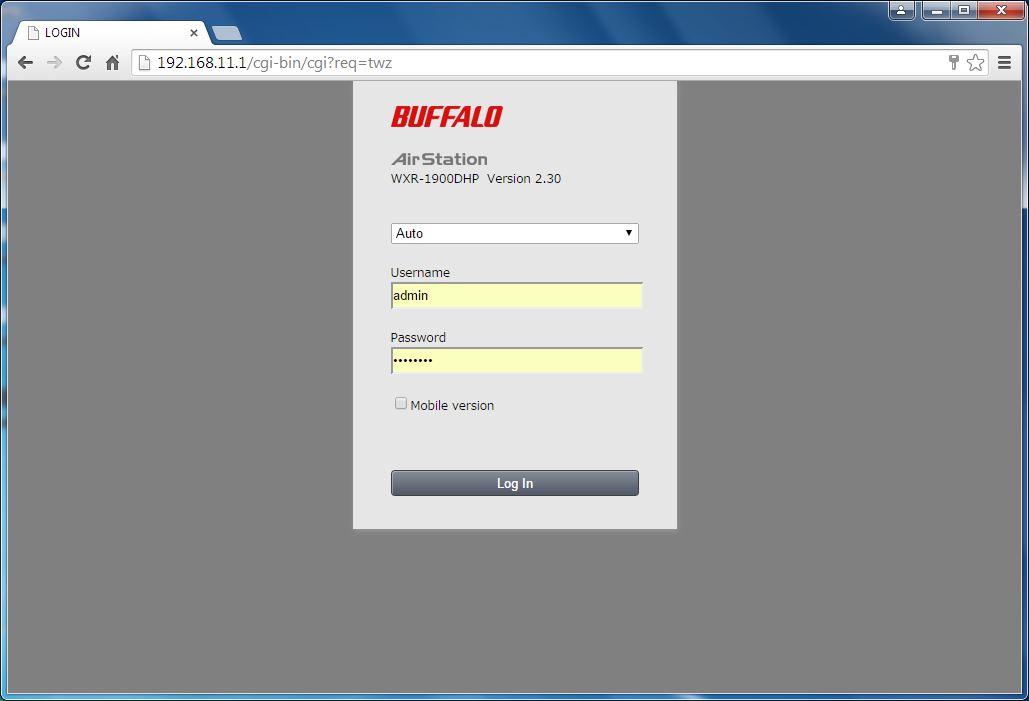
- Log in to Settings. The default username and password is "admin" and "password".
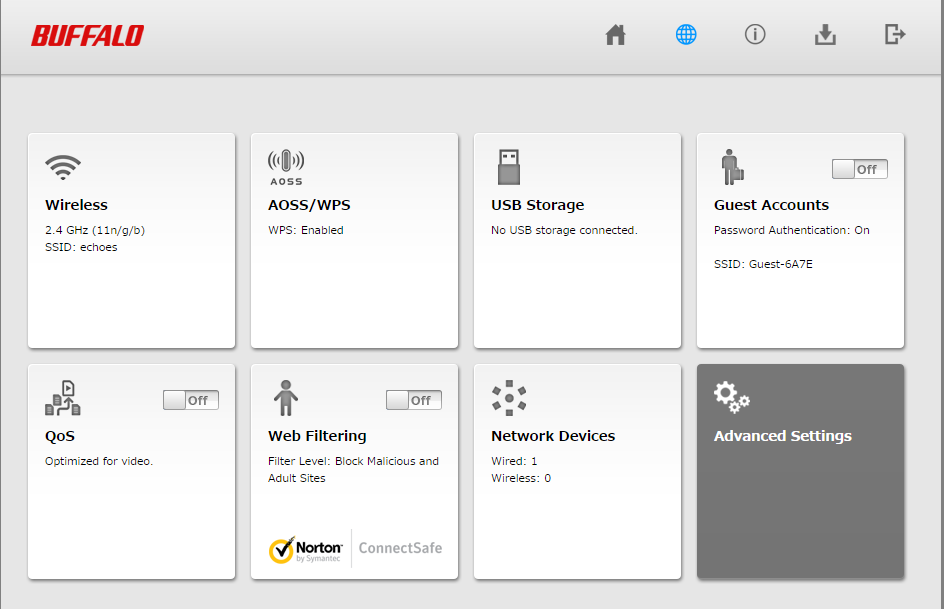
- Click on the "Advanced Settings" tile.
- Click on the "Security" tab on the left, and then click on the "UPnP" subtab.
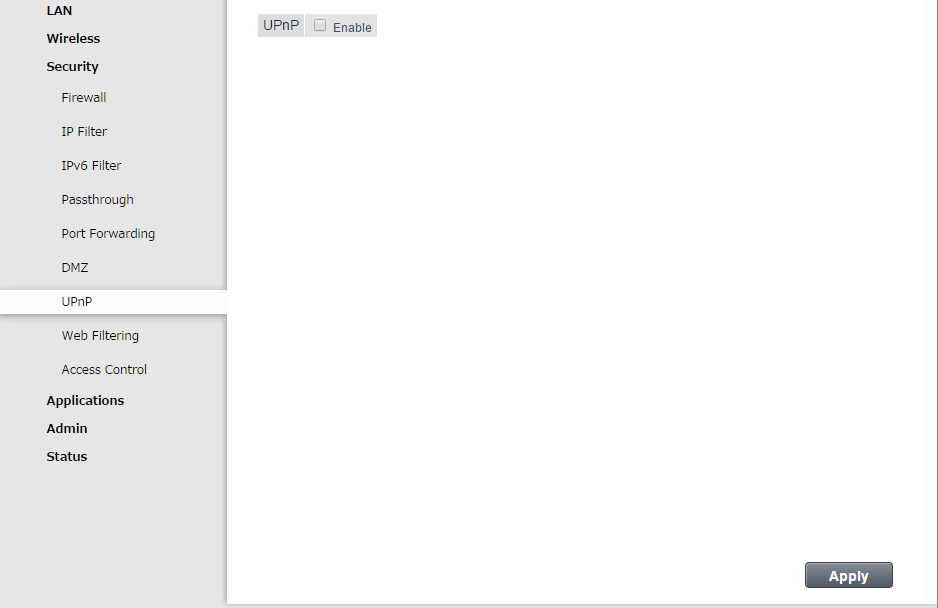
- Enable UPnP and click Apply.

- Click on the "Applications" tab on the left, and then click on the "Disk Management" subtab.
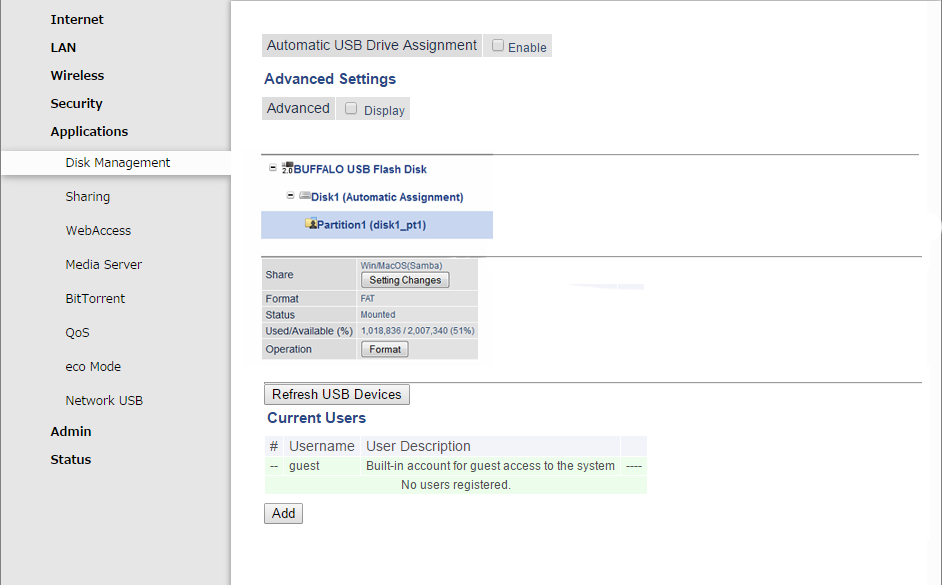
- Click Setting Changes.
- Check "Access Restrictions", then click Save.
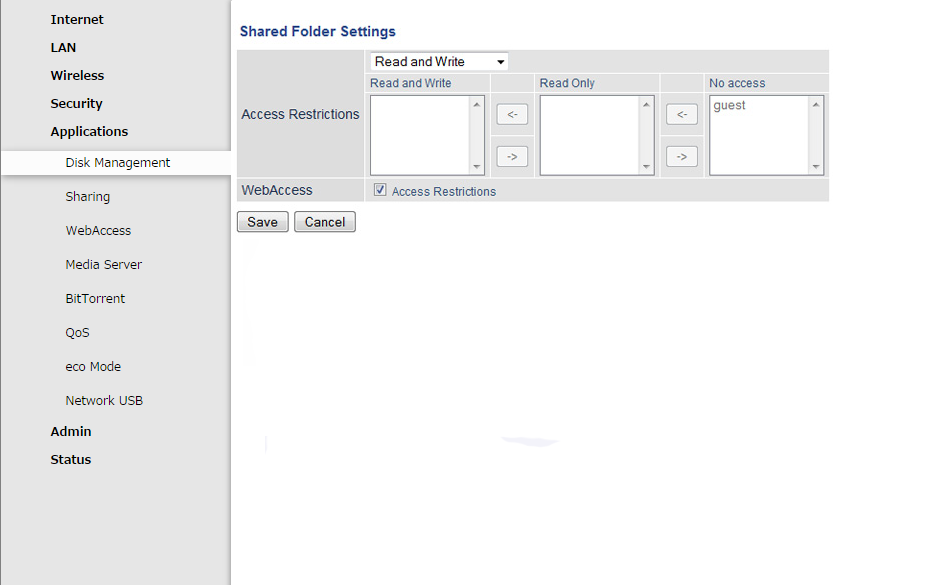
- If you need to create a new user for WebAccess, create one on the Disk Management page, under Current Users.
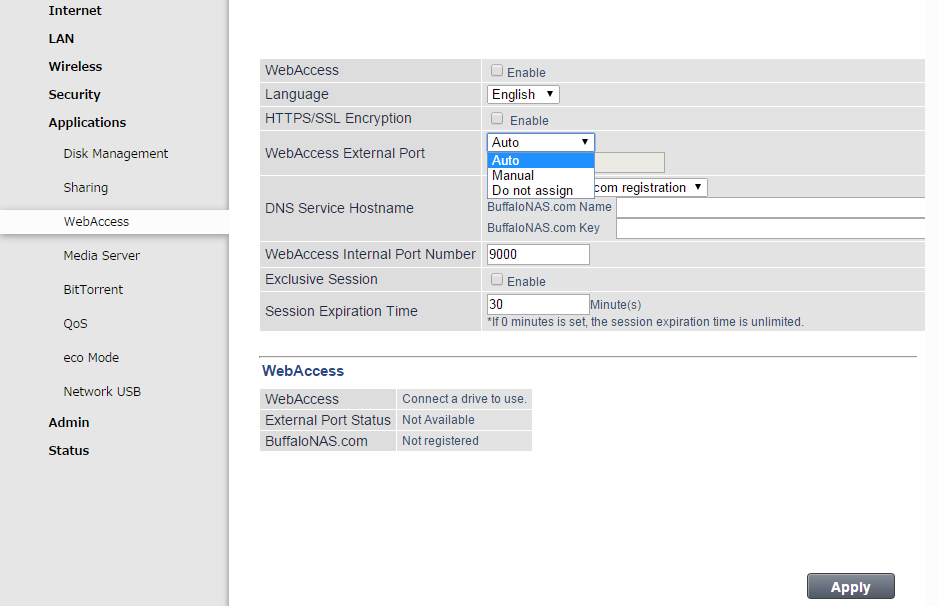
- Click on the "Applications" tab on the left, and then click on the "WebAccess" subtab.

- Check "Enable" for WebAccess.
- Leave the WebAccess External Port option to "Auto" so that UPnP will automatically configure a port for you.
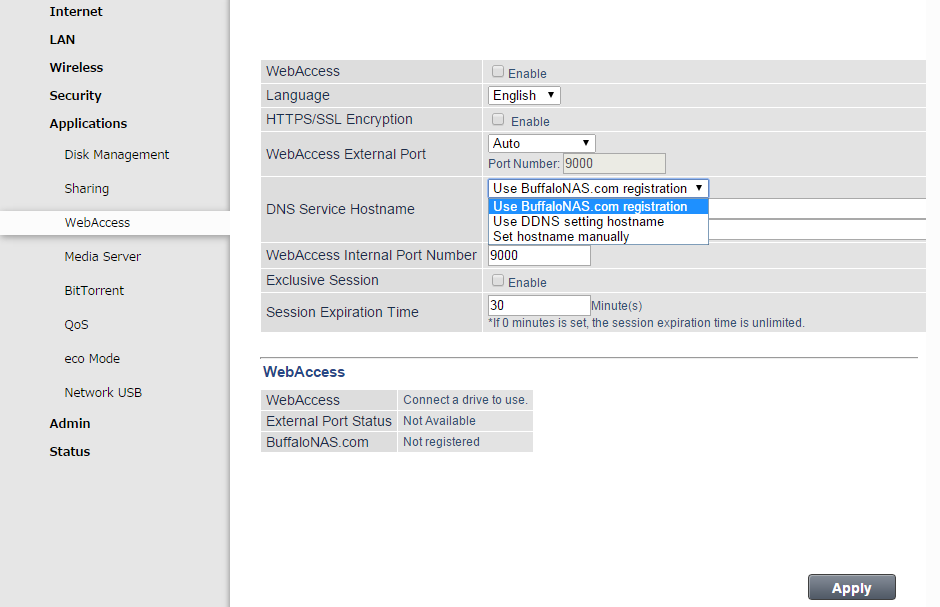
- Select the DNS Service Hostname used to access the service. If you have a BuffaloNAS.com account, select [Use BuffaloNAS.com Registration] and enter your BuffaloNAS.com username and password. You can also use an existing hostname, such as your dynamic DNS hostname. Currently Buffalo supports DynDNS and No-IP DDNS services.
- If "Exclusive Session" is enabled, a user cannot be logged in to WebAccess simultaneously from multiple sources. If this occurs, only the latest login is considered valid.
- Set the session expiration time, which dictates how long you can remain logged in to the account before you are automatically logged out. You can enter 1-120 minutes. If you enter "0", your session will never expire until you log out.

- Click Apply at the bottom of the page.
- When finished, log out of Settings and close the web browser.
Once WebAccess is configured, registered users can access data on your NAS through www.buffalonas.com.