Knowledge Base
Search by either entering keywords or by selecting a product.
Setting up Axis Camera Companion with LinkStation using dynamically-assigned IP addresses (DHCP)
Required Equipment
- Axis cameras (LinkStation supports up to 8 cameras)
- Gigabit Ethernet switch (PoE capable if desired)
- LinkStation NVR unit
- Windows PC for configuration
- Network router or other DHCP server
- Ethernet cable for each device
Required Software
- Axis Camera Companion
- NAS Navigator
Setup
- Connect all equipment to the switch and power it on.
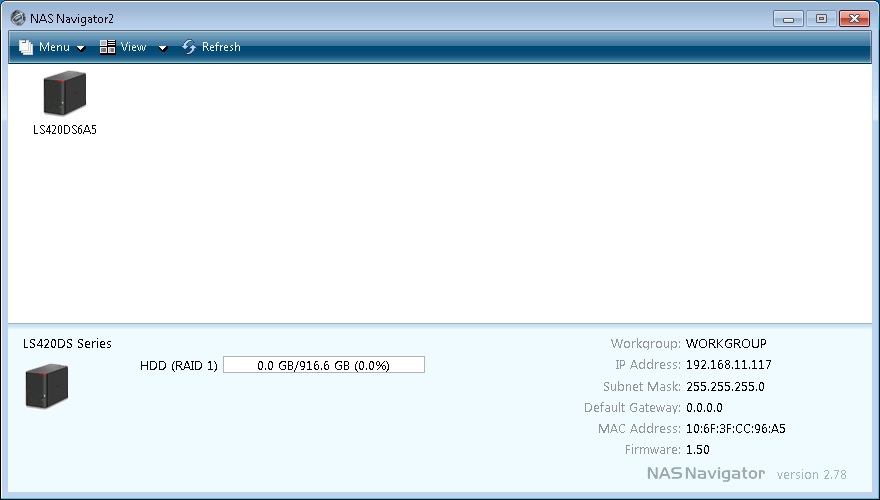
- Install/launch NAS Navigator. The LinkStation should show up in the interface.
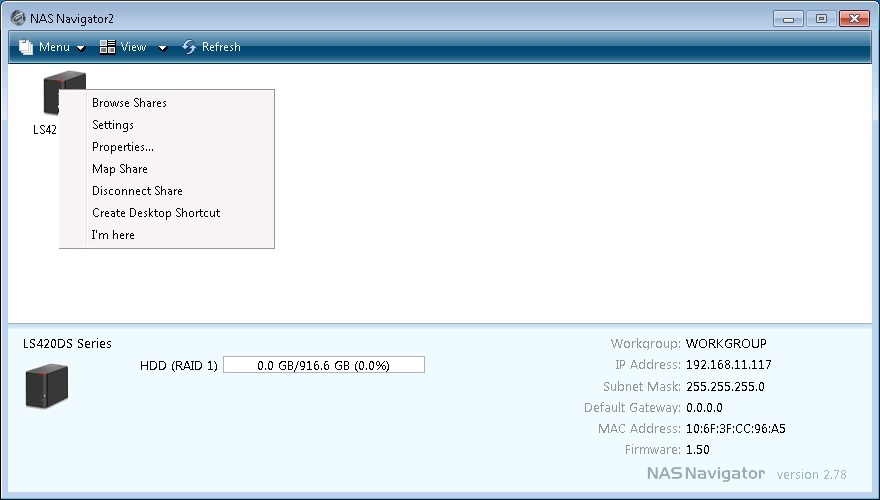
- Right-click the icon for the LinkStation and click Settings. This should launch the LinkStation GUI in the default web browser.
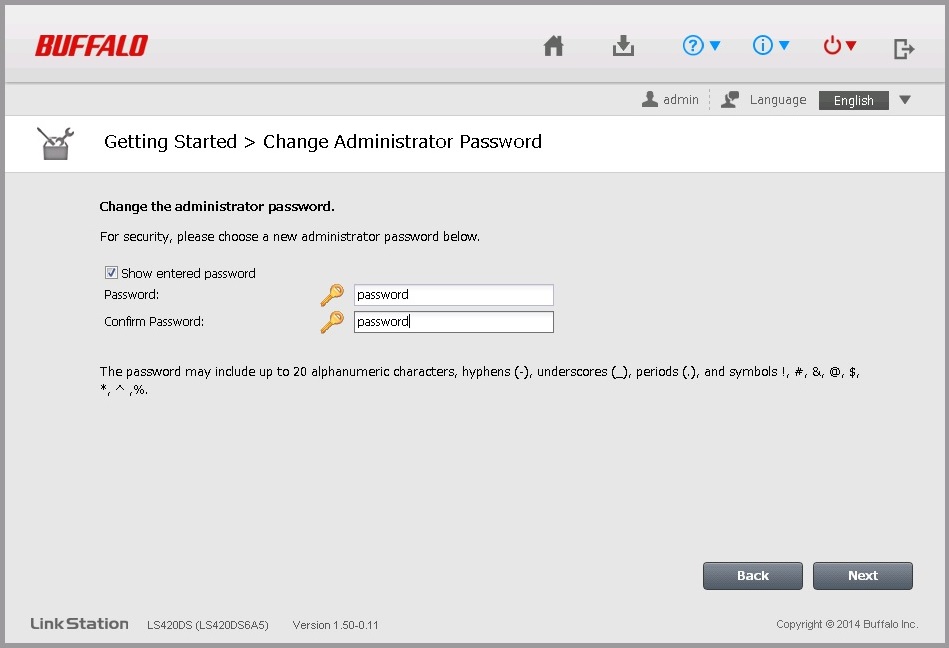
- Go through the initial LinkStation setup wizard. The default administrator username is "admin" and the default password is "password". It is recommended that the default password be changed at this time to a more secure one. We're leaving this one at the default for demonstration purposes.
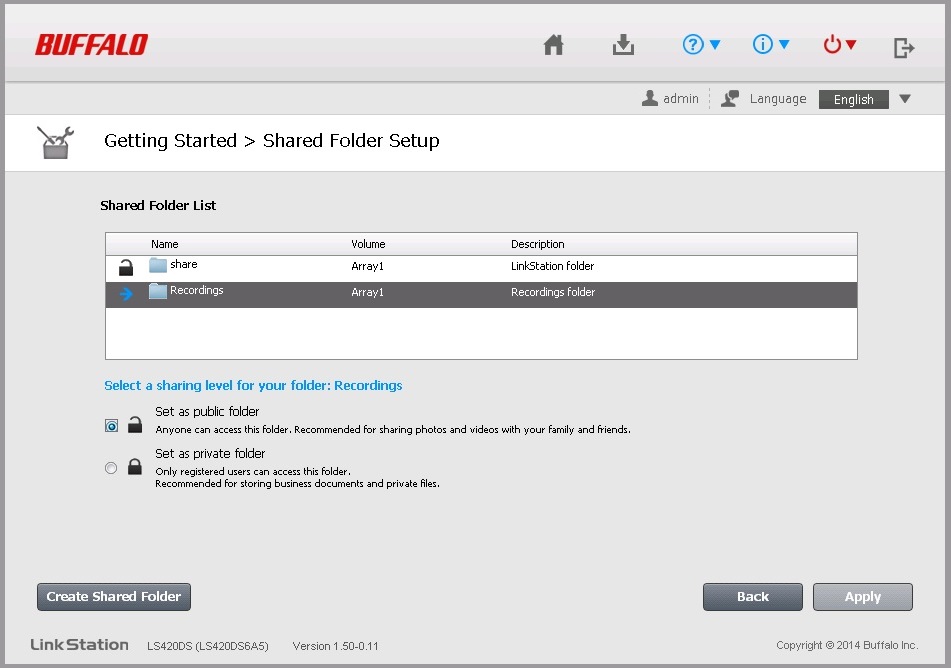
- Leave the first share at the default and click Apply.
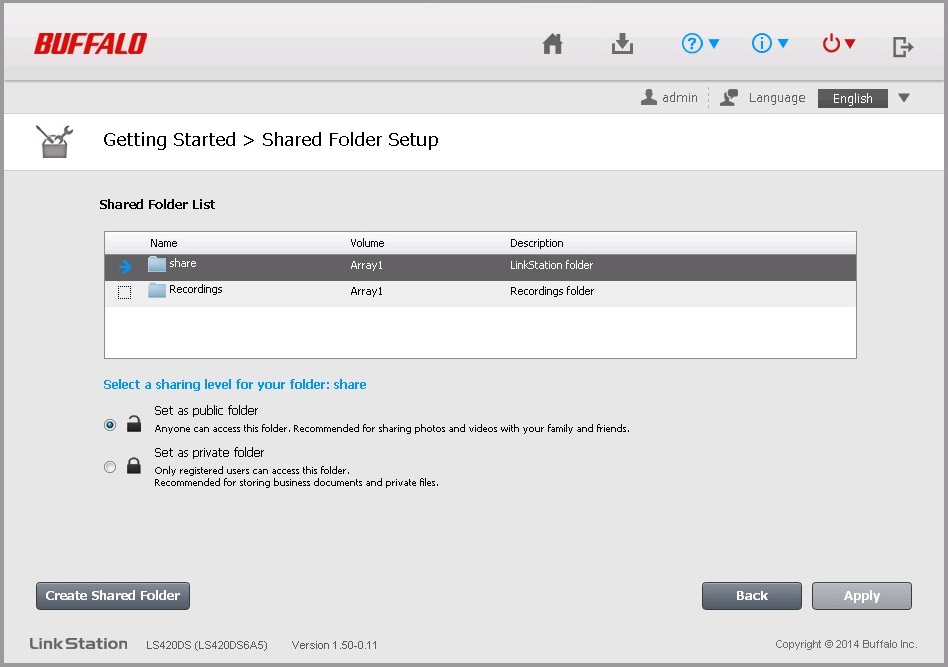
- Also leave the second share at the default and click Apply.
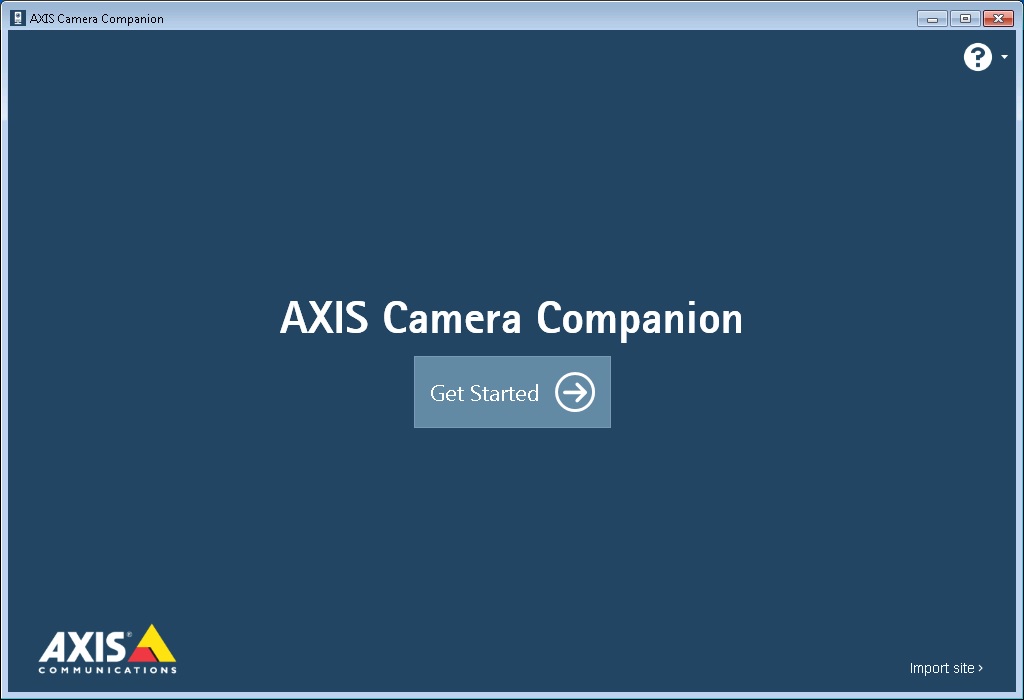
Once the wizard finishes you can close the browser window. - Install/launch Axis Camera Companion.
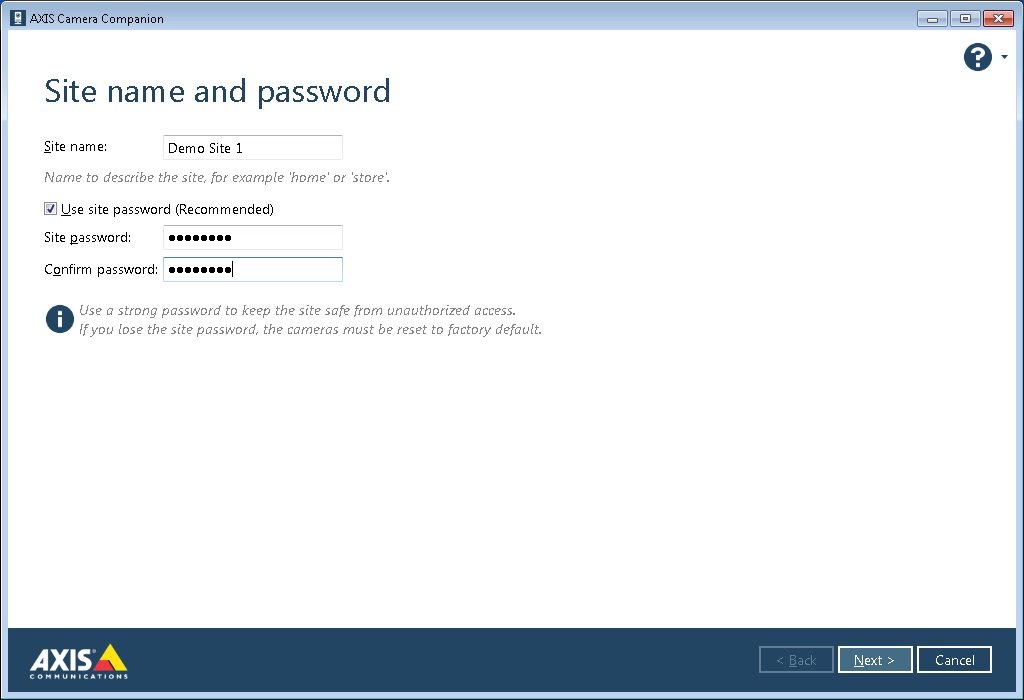
Note: If the system running Axis Camera Companion has internet access, you will be asked to create an account with Axis. - Click Get Started to begin creation of a new camera site.
- Name the site and create a password for the site.
- The first screen should tell you to make sure all your cameras are attached to the network and powered up.
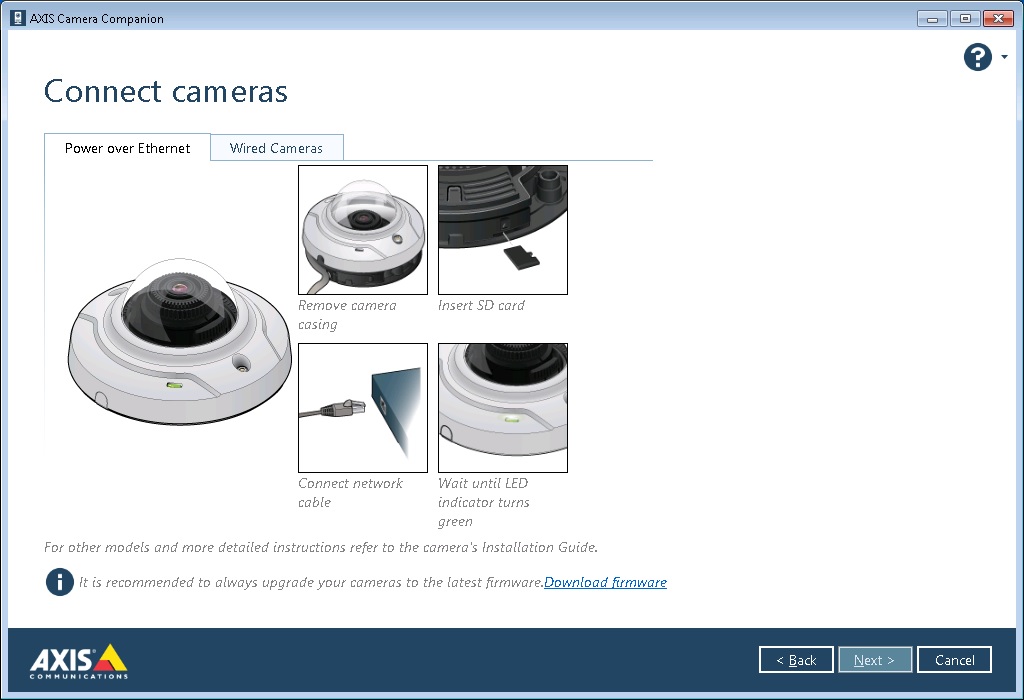
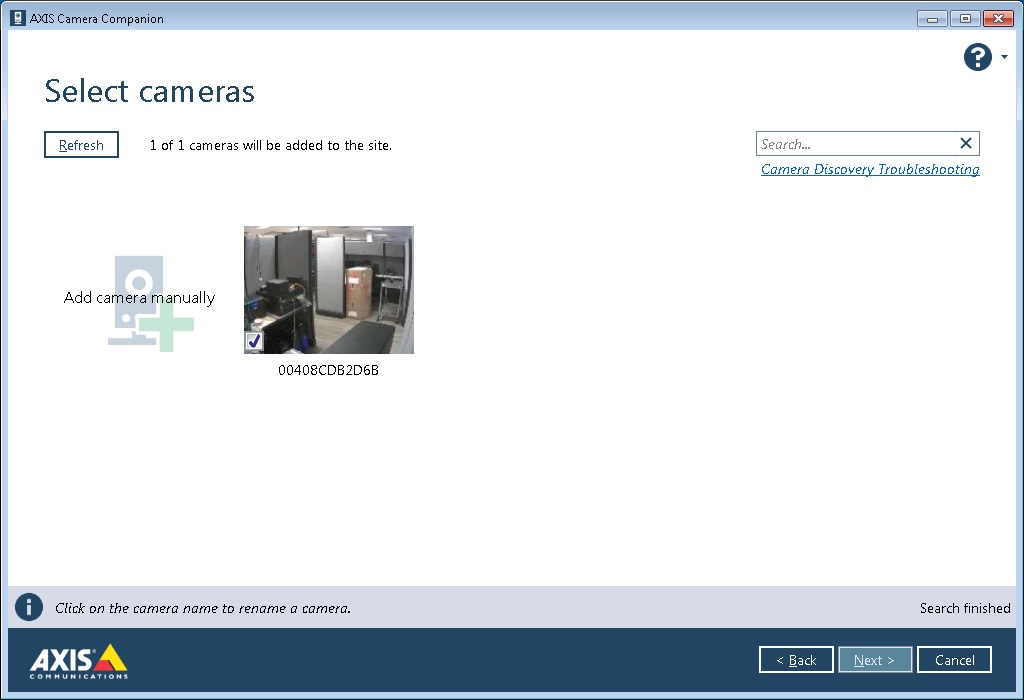
- The wizard should locate all attached cameras. If not all the cameras are detected, check to make sure that all cameras have power and are connected to the network. In our example we only have one camera.
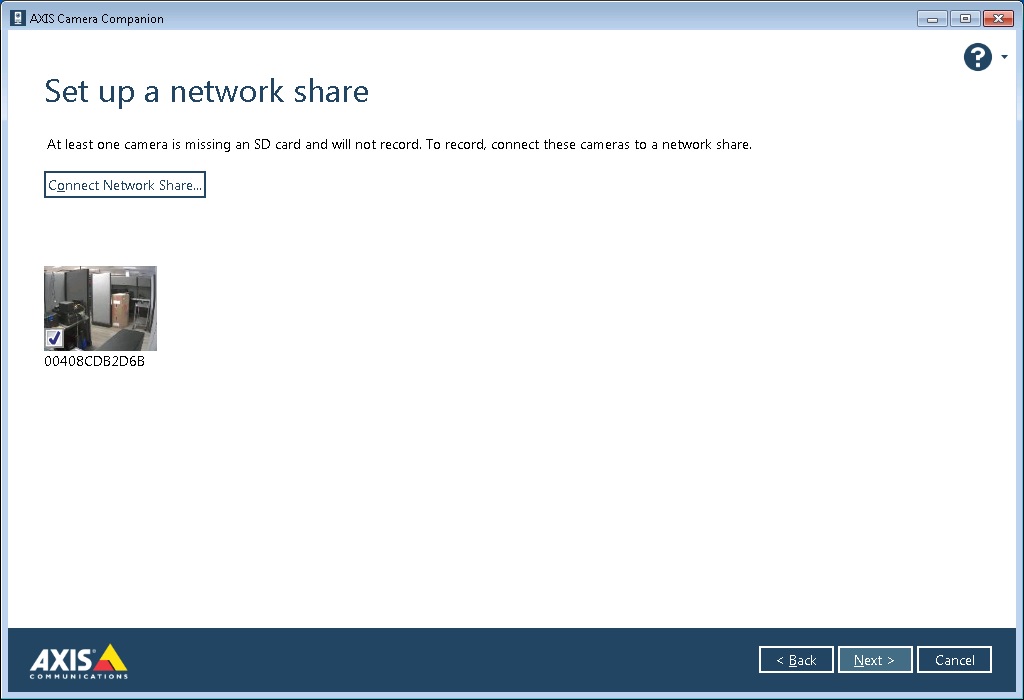
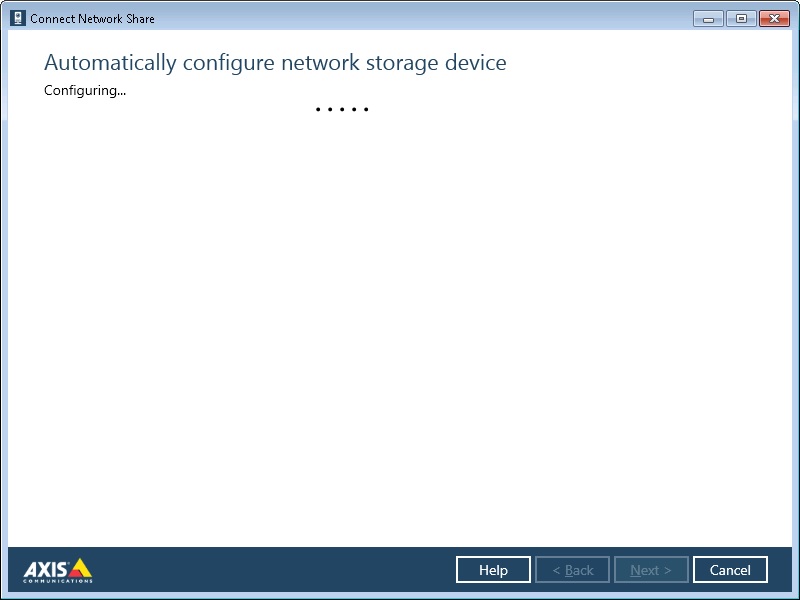
- Click the Connect Network Share button.
- Select the LinkStation and click Next.
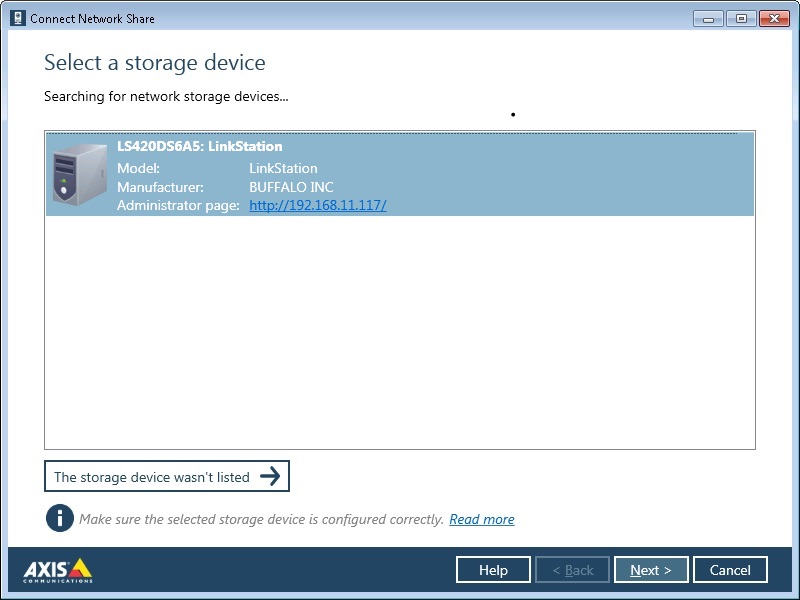
- Enter the username and password for the LinkStation. The username will be "admin" and the password will be "password" unless it was changed in step 6.

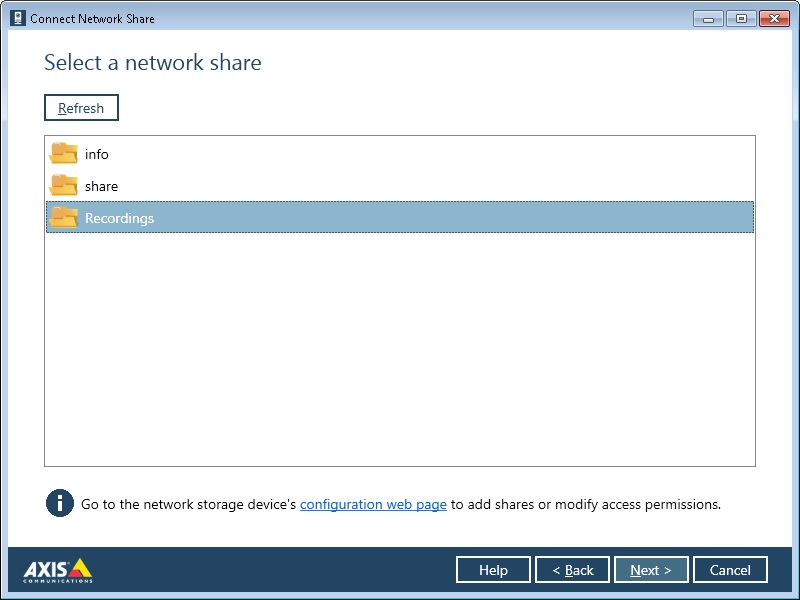
- Select the "Recordings" share and click Next.
- This is the part of the setup automated by the software. The Camera Companion software will now configure a user and set a quota for each camera in the site. Doing this manually could take 5-10 minutes or more per camera.
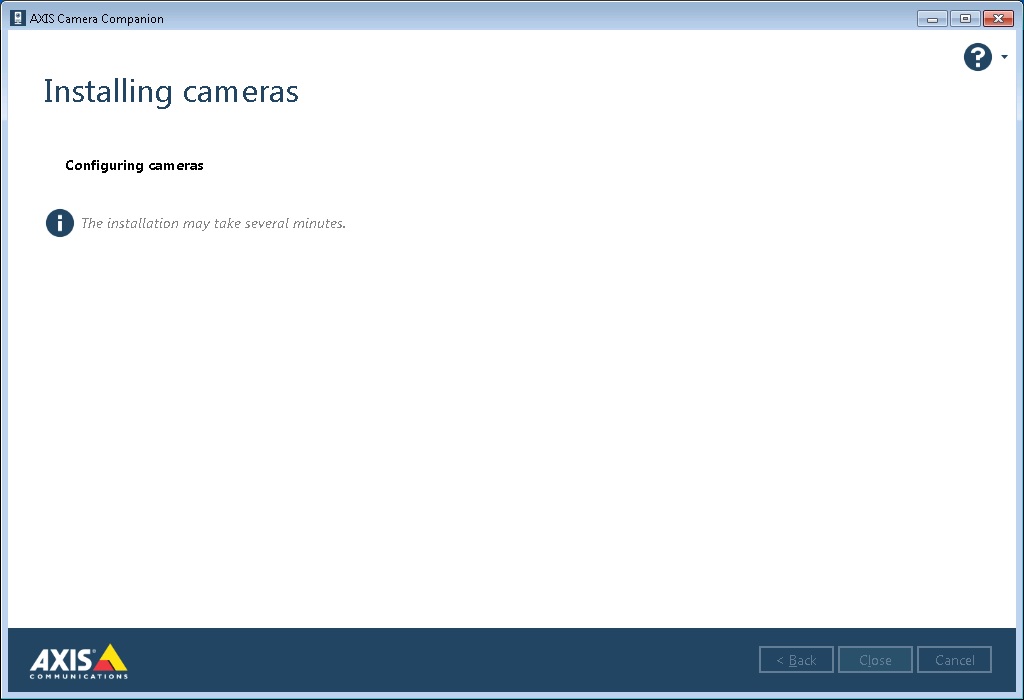
- Once the storage configuration is finished the software will display all cameras configured for this share. Click Next.

- The wizard will now configure the cameras to access the share using the credentials created earlier. Depending on the number of cameras this step could take several minutes.
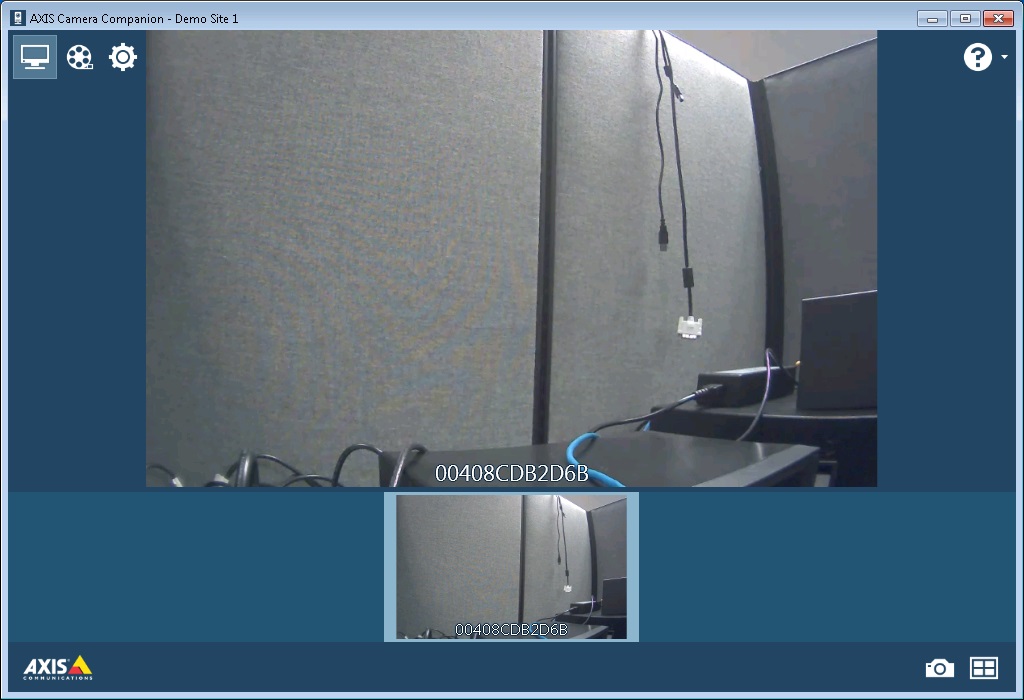
- Once the configuration is finished the Camera Companion should go to a live view of all cameras. One camera will be shown in the main section with all cameras shown across the bottom. Since our setup only has one camera, that is all that is shown. Here it shows a view of a cubicle wall.
At this point setup should be finished and the cameras should be recording video to the LinkStation NVR unit. The site can be accessed through Axis Camera Companion to view both live video and recorded video. Recording parameters can be adjusted through Axis Camera Companion as well.