Knowledge Base
Search by either entering keywords or by selecting a product.
Configuring Access Restrictions on a Buffalo LinkStation
- Log in to Settings for the LinkStation. You can access Settings by either entering the LinkStation's IP address into a web browser window or by using NAS Navigator.
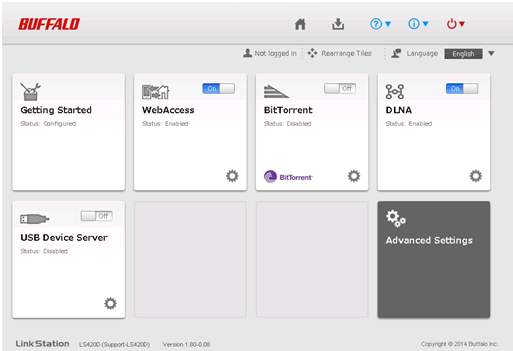
- Click the Advanced Settings tile. You will be asked to log in as the "Admin" account to proceed.
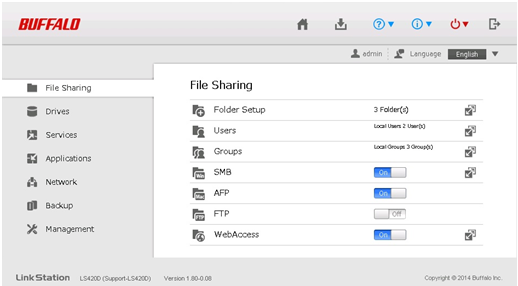
- On the Advanced Settings screen, click the button to the right for "Folder Setup".
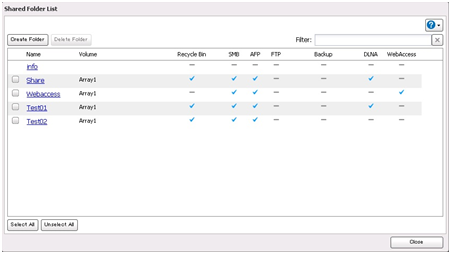
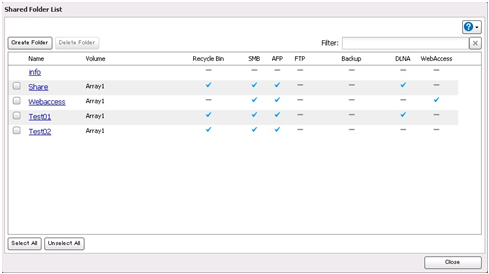
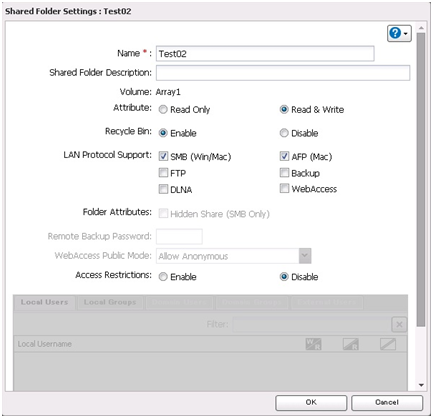
- On the shared folder list, click on the folder to display the settings for that folder.
- Click Edit to enable editing of settings.
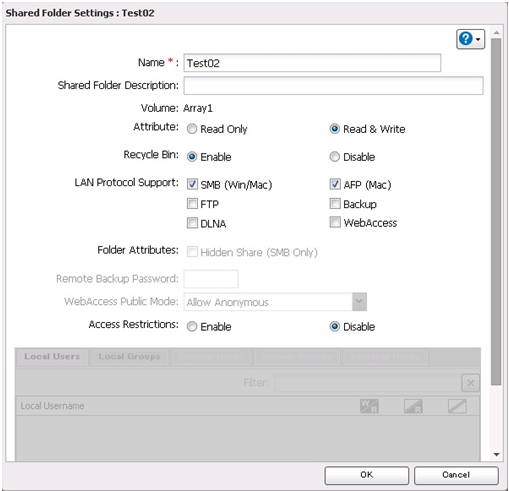
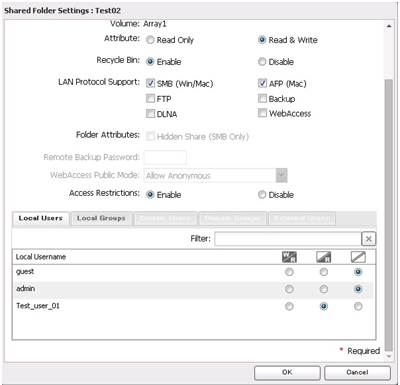
- Select the radio button to enable access restrictions on this folder.
- The options are "W/R" (Write/Read), "R" (Read only), and "None" (No access). In the example we are not granting access to the built-in accounts and granting read-only access to our test user. In reality this would mean that nobody could actually write data to the share. You set restrictions per user, per group, or even based on domain users and groups if the unit is authenticating through a Windows domain. Once you have the permissions set as desired, click OK to save the changes.
- Changes to access restrictions are not displayed in the shared folder list.