Knowledge Base
Search by either entering keywords or by selecting a product.
Updating the Firmware on a TeraStation or Linkstation Using Mac OS X
IMPORTANT: For NAS models that support iSCSI volumes, it is required to proper dismount/disconnect the mounted NAS iSCSI volumes from the host/hypervisor servers before performing a firmware update. The firmware update process will automatically reboot the NAS which might cause data lost if iSCSI volume has not been properly dismounted/disconnected from the host/hypervisor servers.
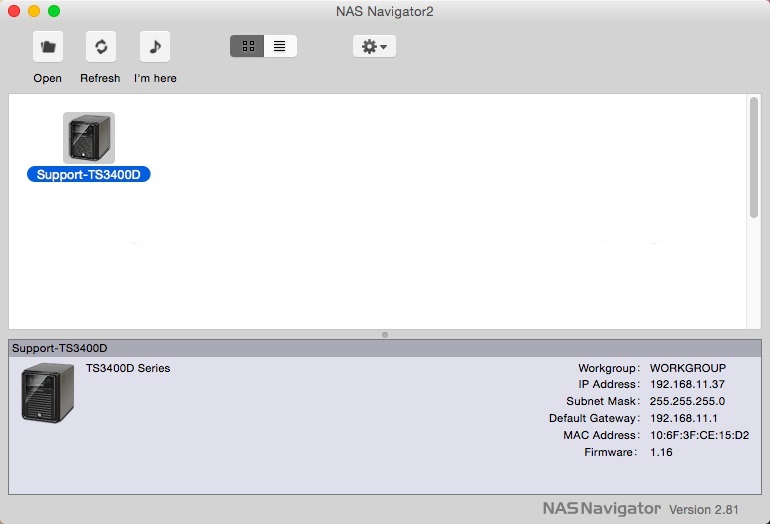
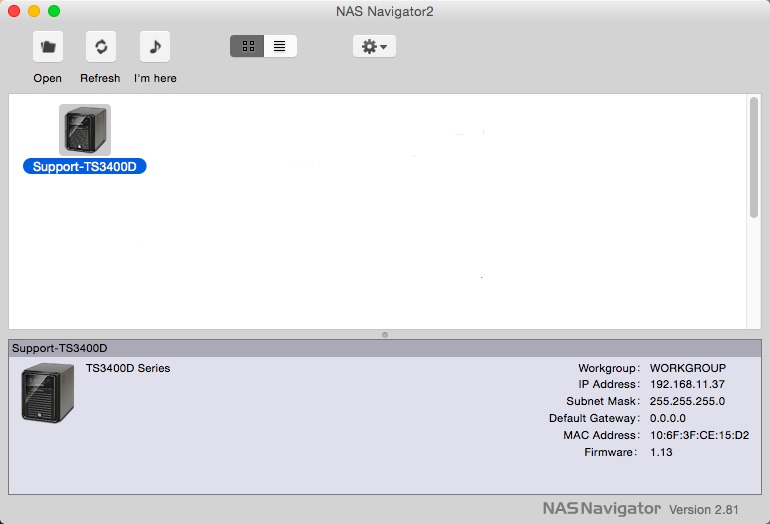
- To check the current version of firmware on your unit open NAS Navigator. Select the unit and the current firmware version will be displayed in the lower right corner. If you do not have NAS Navigator installed follow these steps.
- Go to the Buffalo downloads page and enter your model number.
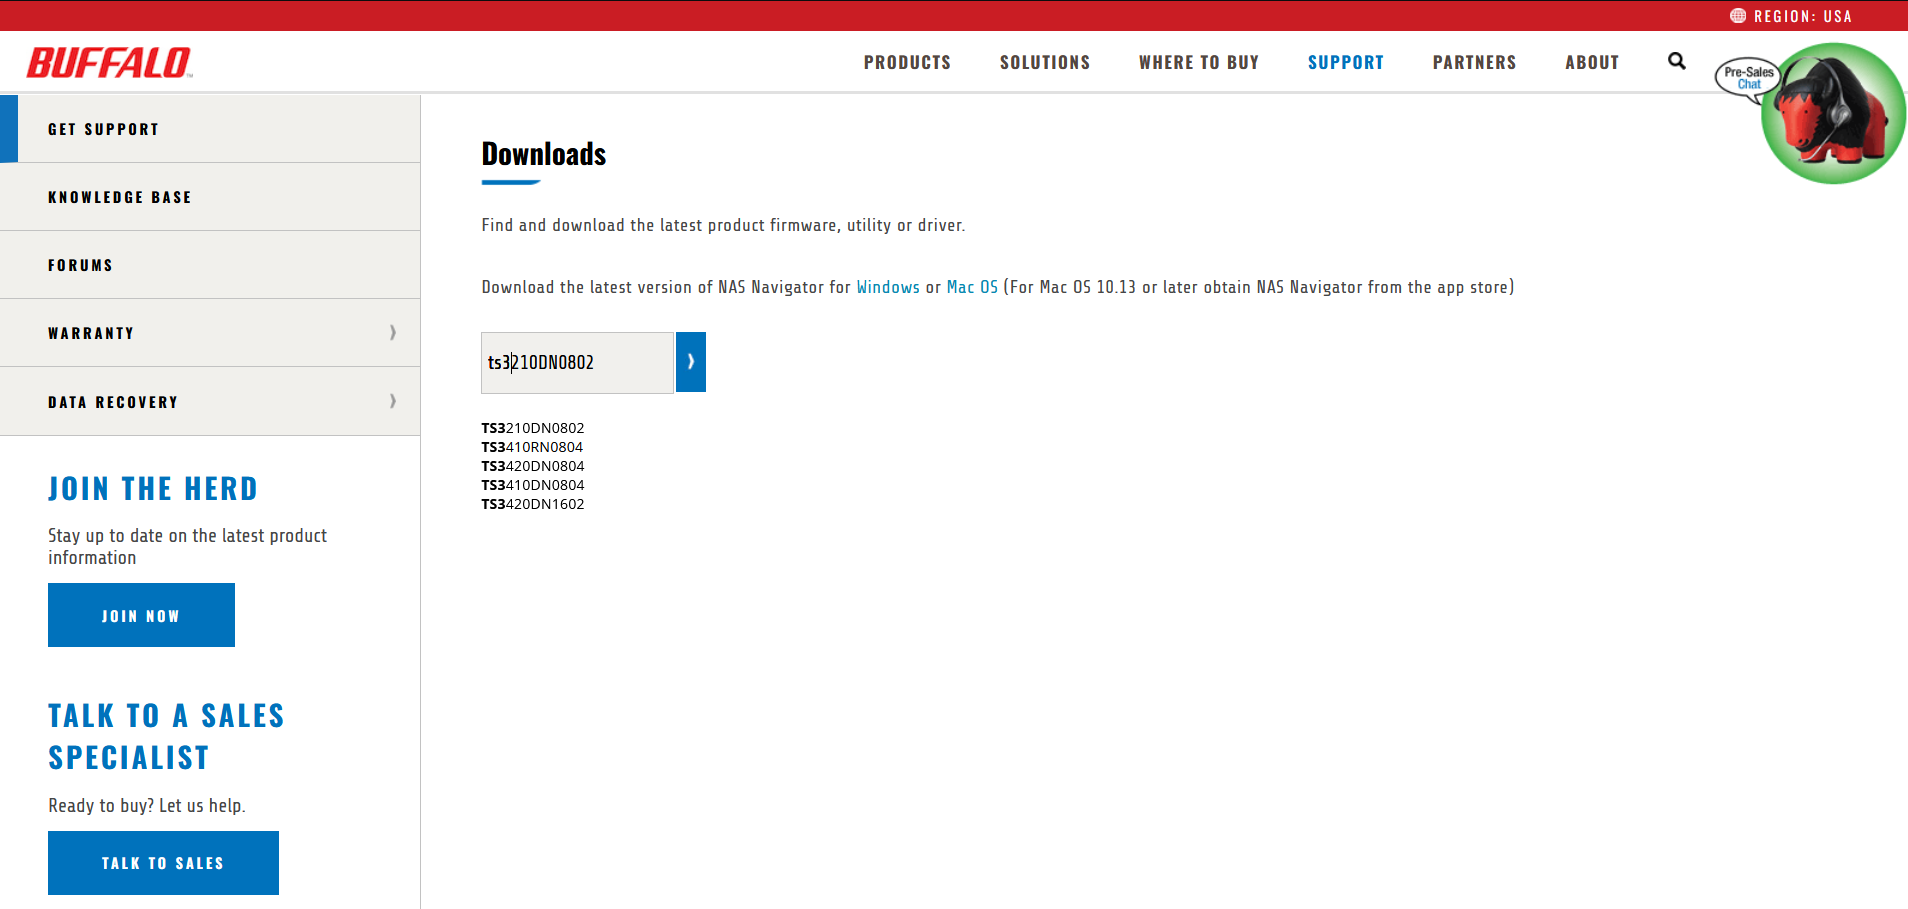
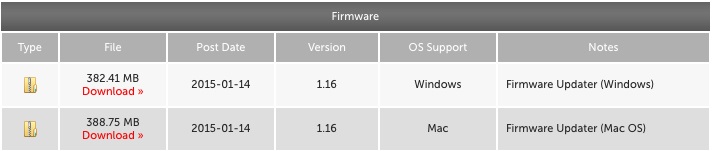
- Scroll to the firmware section and select the firmware update utility for Mac.
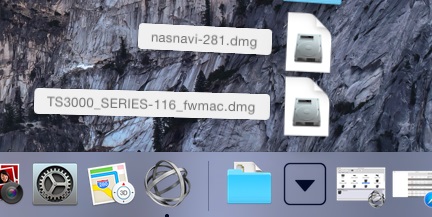
- Once the download finishes, click on the downloaded file in the downloads section of the dock.
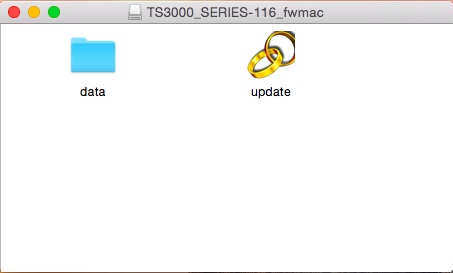
- Double-click the "update" icon.
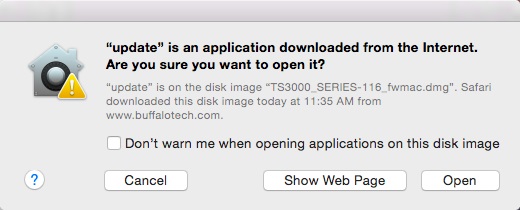
- You may get this warning. Click "Open".
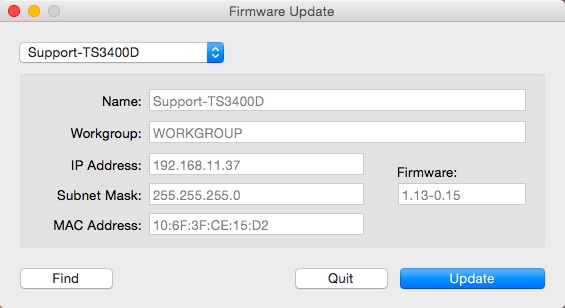
- Select the unit you wish to update from the drop-down menu.
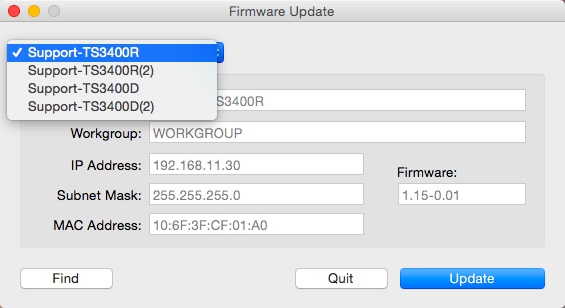
- Once you have the correct unit selected, click the "Update" button.
IMPORTANT: Properly dismount/disconnect any mounted NAS iSCSI volumes from the host/hypervisor servers before proceeding.
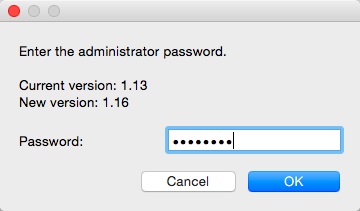
- You will be asked for the administrator password for the NAS.
- The update will take several minutes.

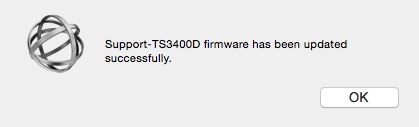
- Once the update is complete and the unit has rebooted you should get this message.
- To verify the new version you can check in NAS Navigator again. The new version should be displayed in the lower right corner.