Knowledge Base
Search by either entering keywords or by selecting a product.
Configuring the iTunes Server on a Buffalo LinkStation
- Access Settings, the LinkStation's web user interface, by entering the current IP address of the unit into a web browser. If the current IP is unknown the unit can be located using NAS Navigator. If NAS Navigator is not installed, download and install the application from the Buffalo downloads page.
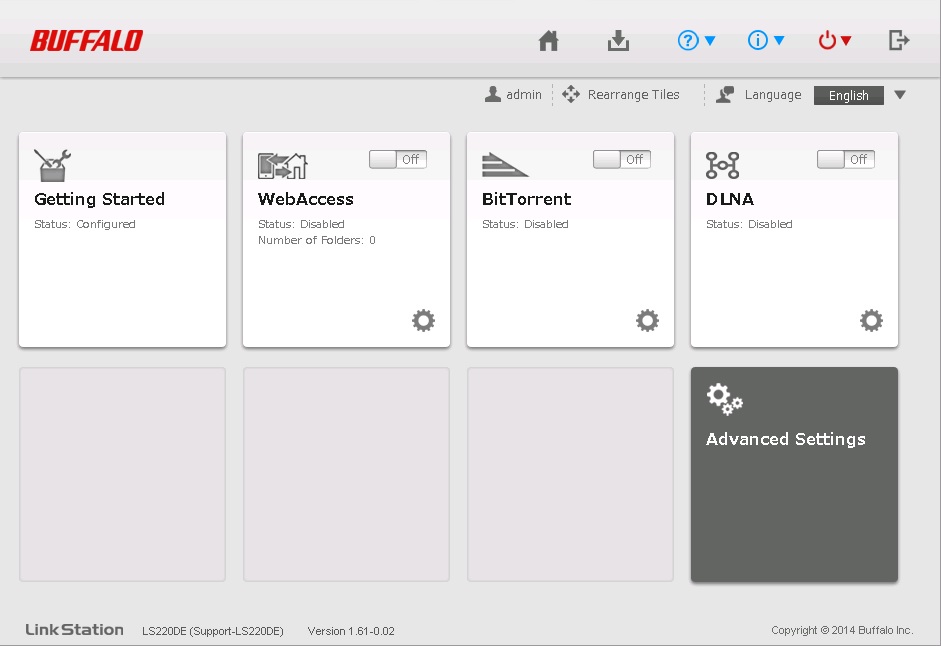
- The settings should open to the default to the Easy Admin screen. Click on the "Advanced Settings" button. You may be asked to log in with the "Admin" account.
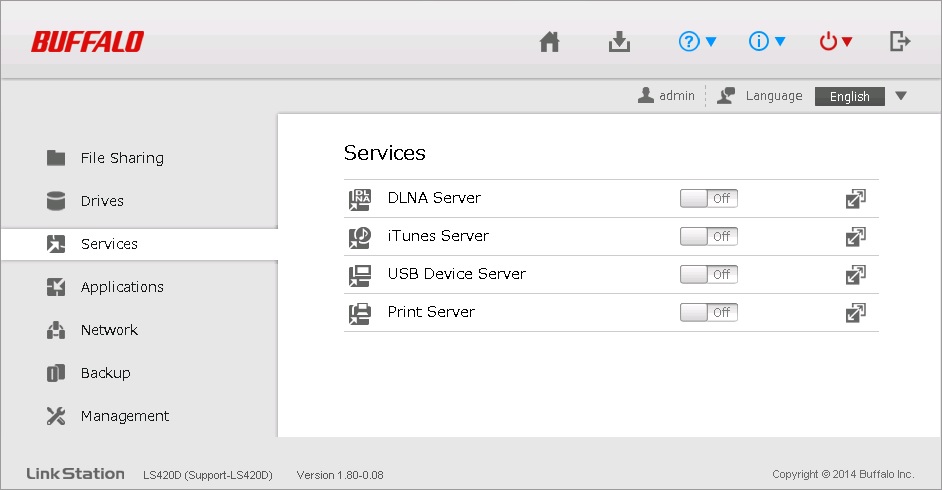
- One the advanced settings screen, click on the "Services" tab.
- Click on the configuration widget next to "iTunes Server" to configure the server.
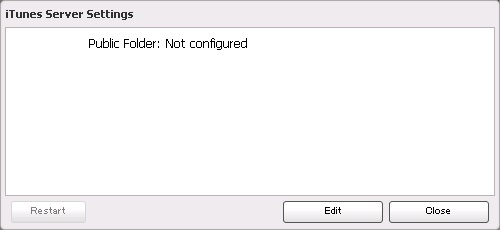
- Click Edit in the lower right to change the options.
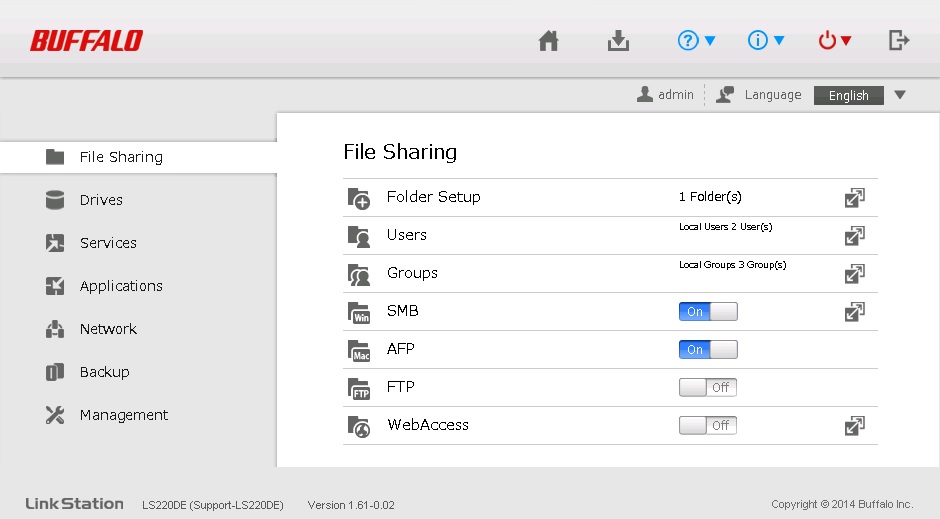
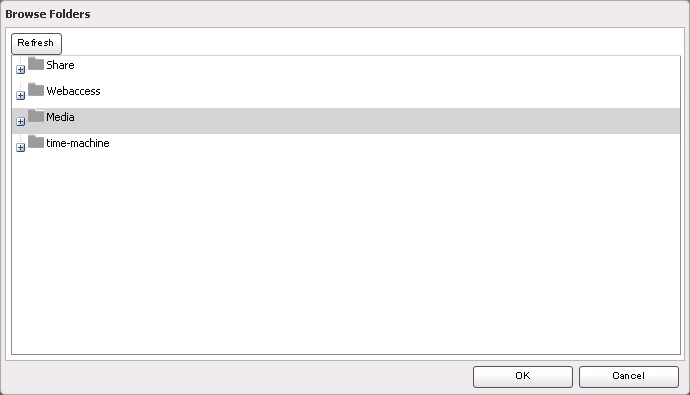
- Click Browse to select the folder that you want to use. If you have not created a folder yes, please go here for those steps. The folder used for iTunes must have "AFP" enabled.
- Select the correct folder from the list displayed.
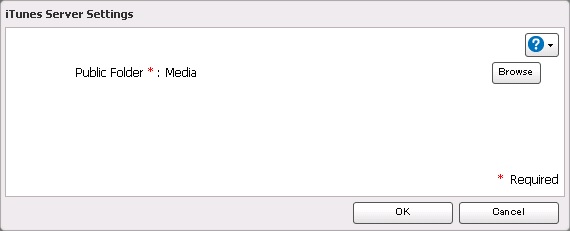
- The settings screen should now show the selected folder. Click OK.
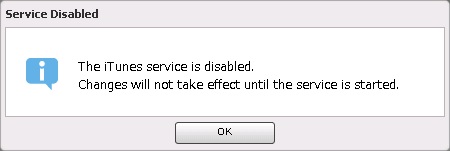
- You should get the following notification. Click OK.
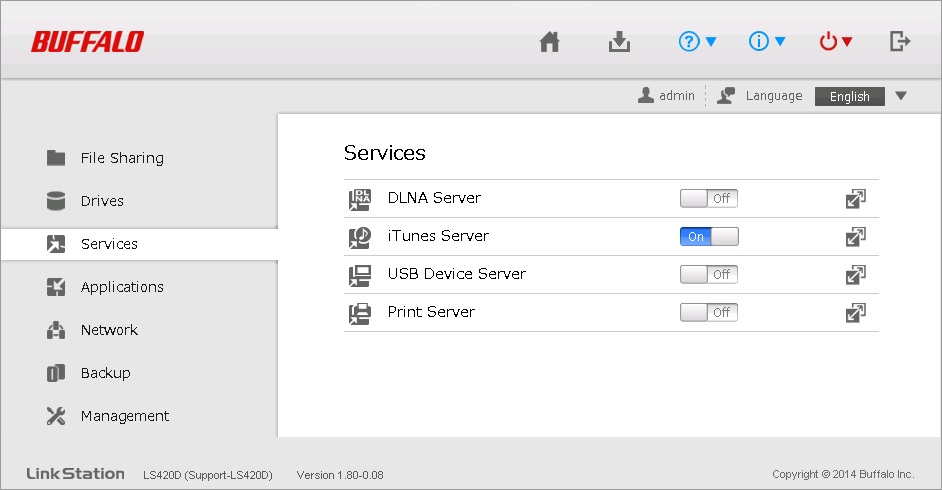
- You should now be back at the advanced settings menu on the "Services" tab. Click the virtual slide switch to enable the iTunes server.
- The server should start and the slide switch should now be set to "On". Setup is finished.