Knowledge Base
Search by either entering keywords or by selecting a product.
Configuring Email notifications on a Buffalo LinkStation
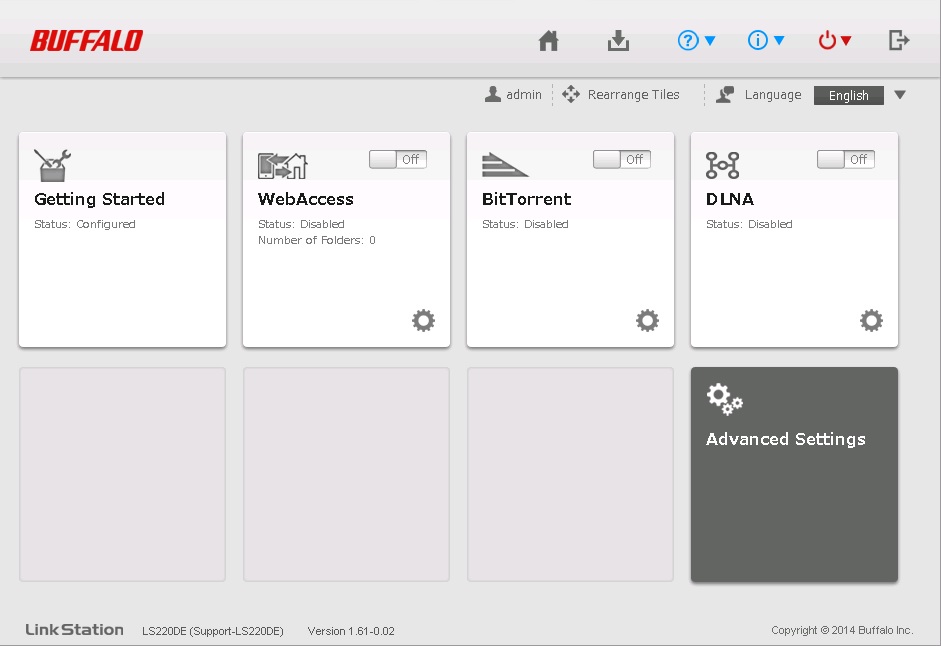
- Open Settings for the LinkStation. It should open to the Easy Admin screen. Click on the "Advanced Settings" tile. You may be asked to log in with the "Admin" account.
- On the advanced settings screen, click on the "Management" tab.

- Click on the slide switch next to "Email Notification" to turn on the feature, and then click the configuration button on the right.

- Click Edit on the lower right to change the option.

- Configure the SMTP server address and port. If the SMTP server requires authentication, set the authentication type and enter the credentials the LinkStation should use to send any emails.
For more information on configuration of web email providers, refer to the settings for each provider:Gmail, Yahoo, or Office365. For other services please check with your provider for the correct settings.
NOTE: To use Gmail as your SMTP server, you need to have multi factor authentication enabled on your Gmail account, then setup their app passwords to log in, instead of using your account password: Gmail App Passwords - Enter an email address for the recipient. If you have created users and entered email addresses for registered users on the unit you can select the users from the list by clicking Select from List. Once you have all users entered, click OK.

- You will be asked if you want to send a test email. Click Yes to send.

- If the operation completes successfully, the following message should be displayed. If you get an error, double-check all email settings. In addition, verify that all IP settings are correct, including the gateway IP and DNS servers. Verify any mail server settings with your email provider.

Note:
Office365 setup example
