Knowledge Base
Search by either entering keywords or by selecting a product.
Configuring the iSCSI Initiator in Windows Server 2012
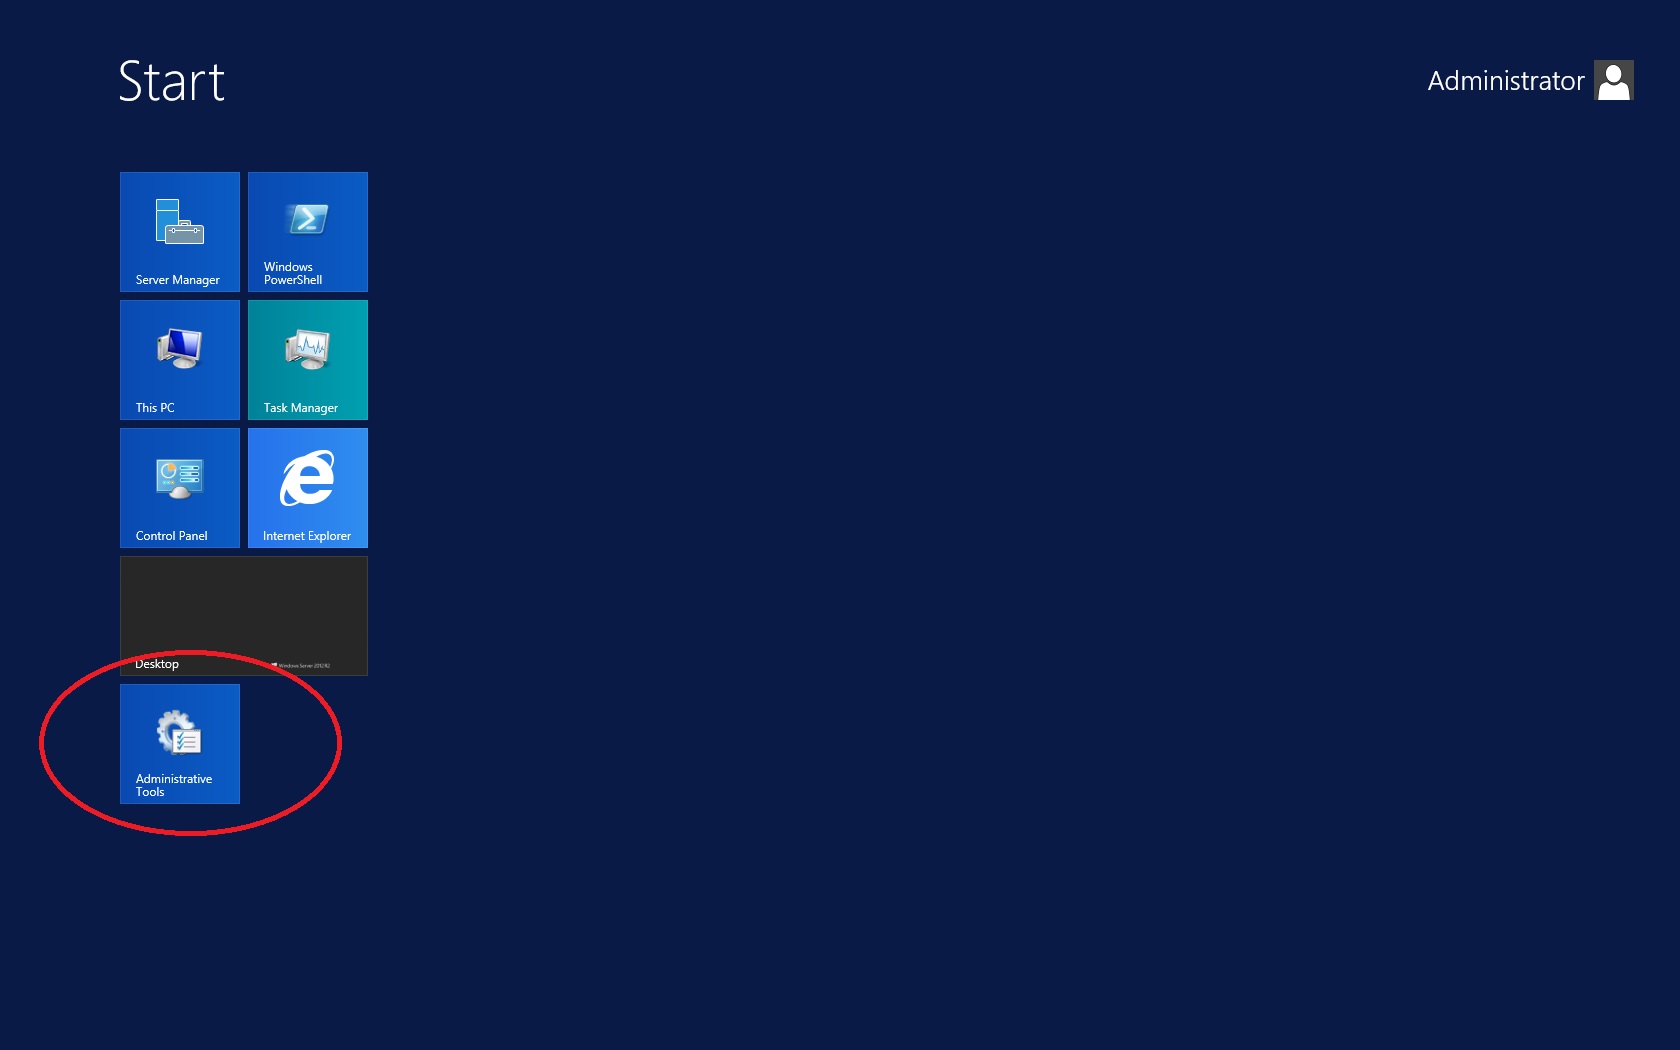
- From the Start screen, click on the "Administrative Tools" tile.
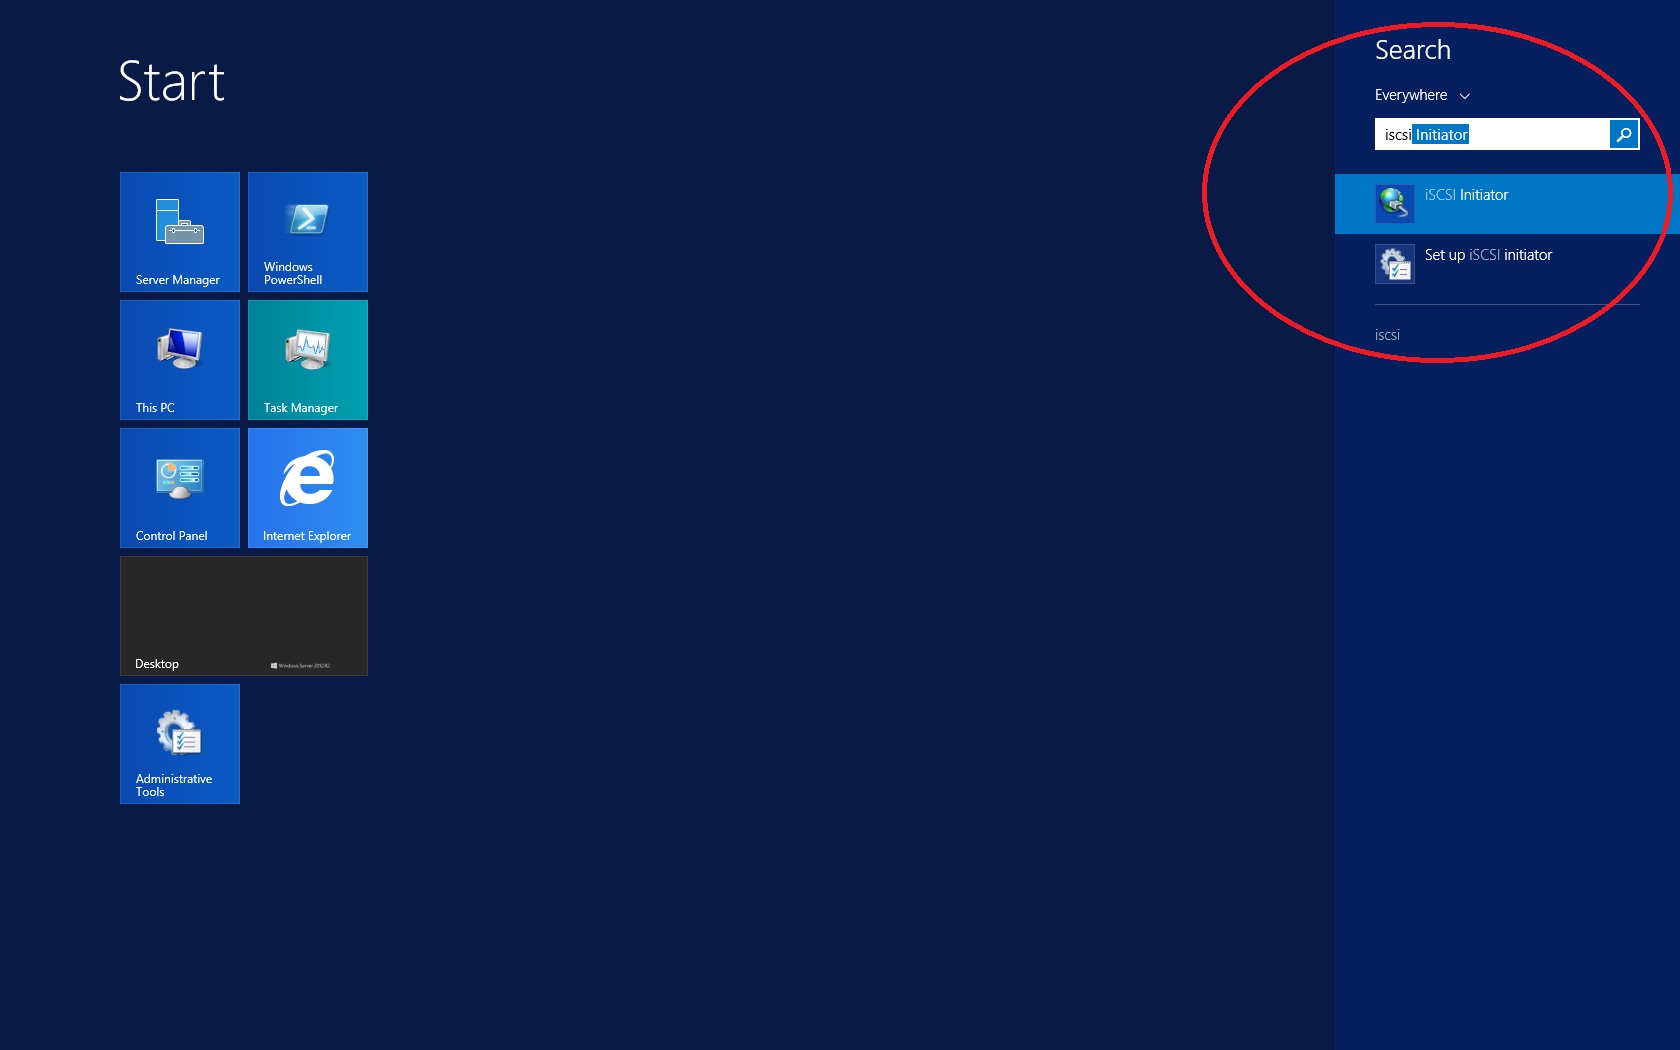
- Alternatively, from the Start screen, start typing "iscsi" and then click iSCSI Initiator.
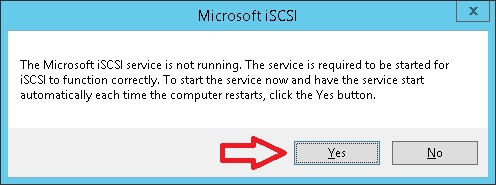
- If iSCSI has not been started on this server, the following pop-up appears. Click Yes. (If the pop-up does not appear, it just means the service is already running. This is normal.)
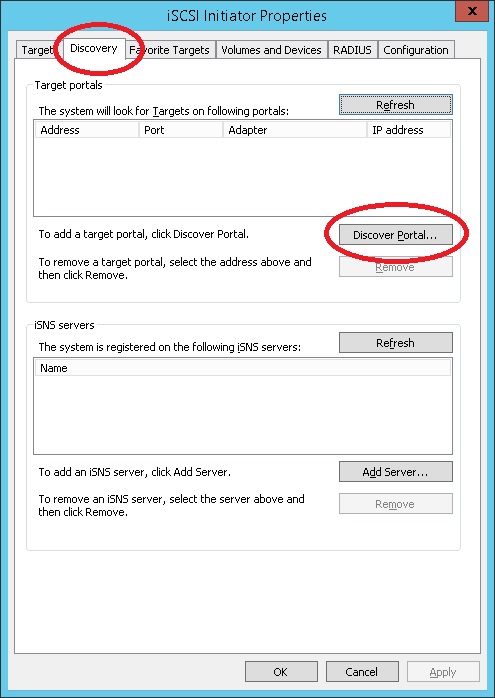
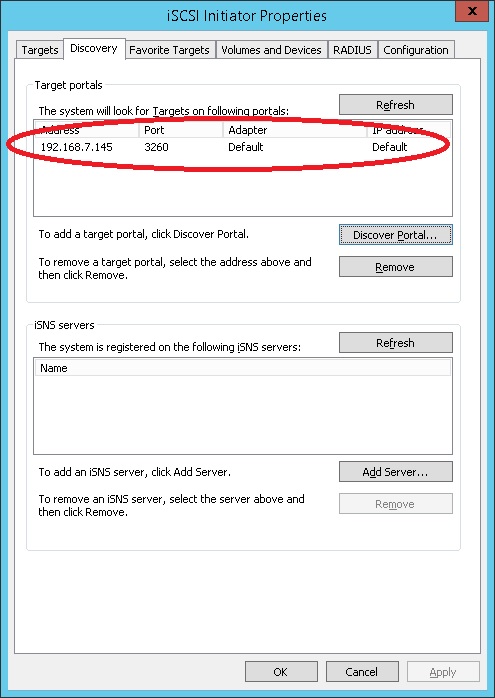
- From the iSCSI initiator property sheet, click the "Discovery" tab and click Discover Portal....
- Type in the IP address for the TeraStation. Leave the port number at 3260 (this is the default TCP port for iSCSI) and click OK. If you get an error, double-check the IP address and try again.
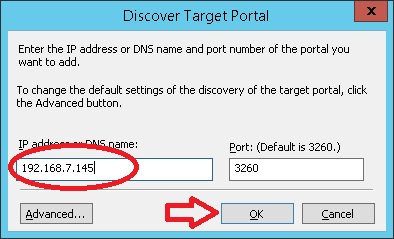
- The IP address for the TeraStation should now appear in the list of target portals.
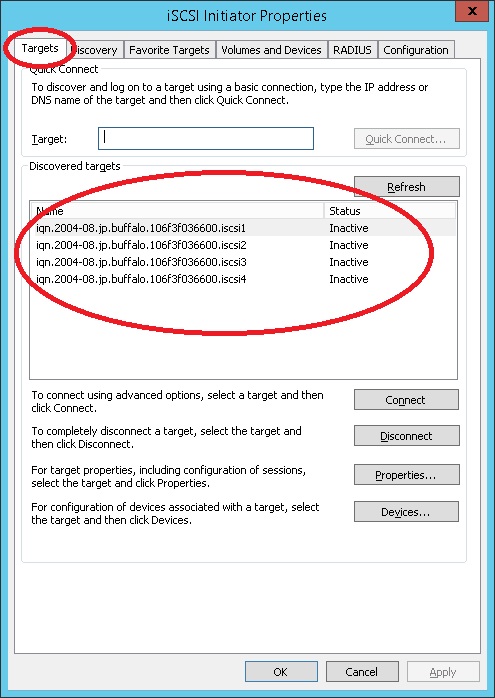
- Select the "Targets" tab. All iSCSI volumes available on the TeraStation should be listed under "Discovered targets".
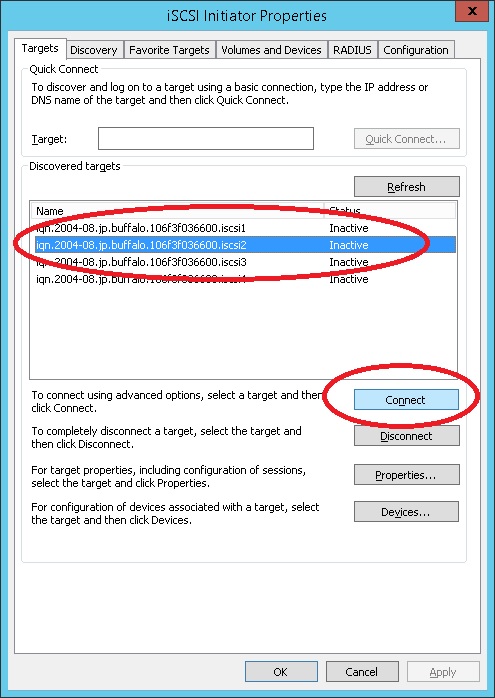
- Select the target you wish to use and click Connect.
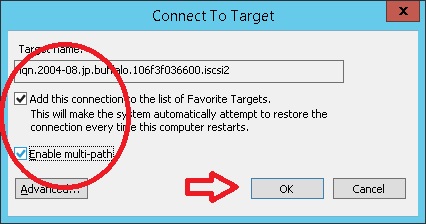
- Make sure both checkboxes are selected and click OK.
Note: Do not connect to a single target from more than one server. Doing so will result in unrecoverable data corruption!
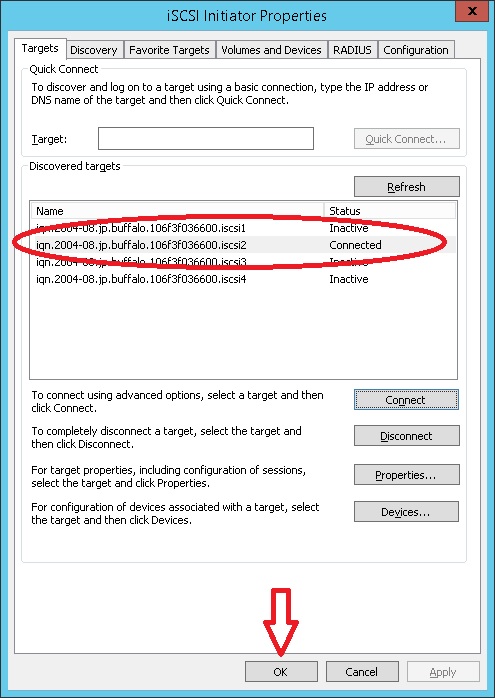
- The selected target should now show "Connected". Click OK. The iSCSI target is connected and ready to use. Now we need make it available to the operating system.
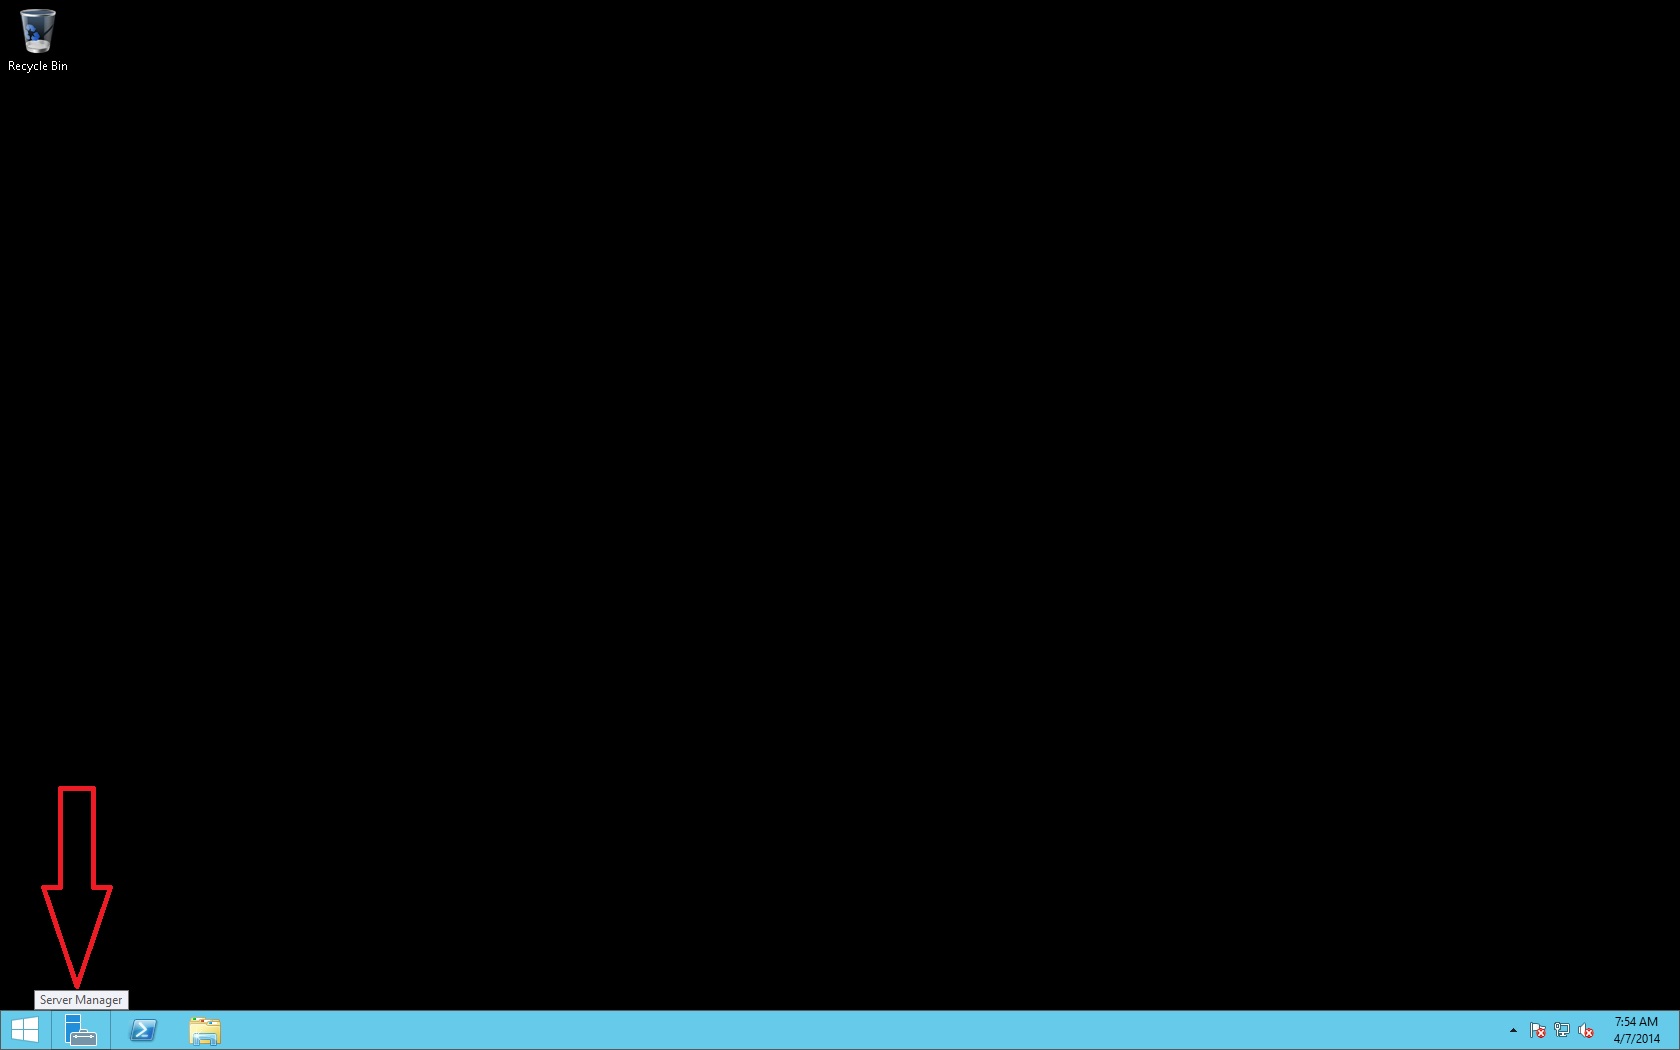
- From the Desktop, click the icon for Server Manager.
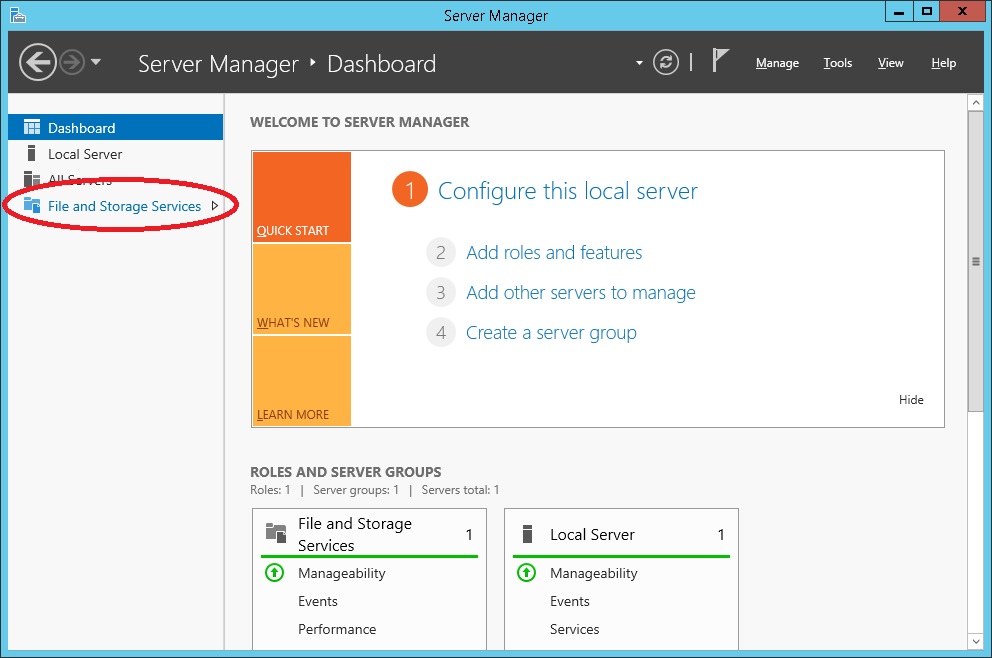
- From the Server Manager Dashboard, select "File and Storage Services".
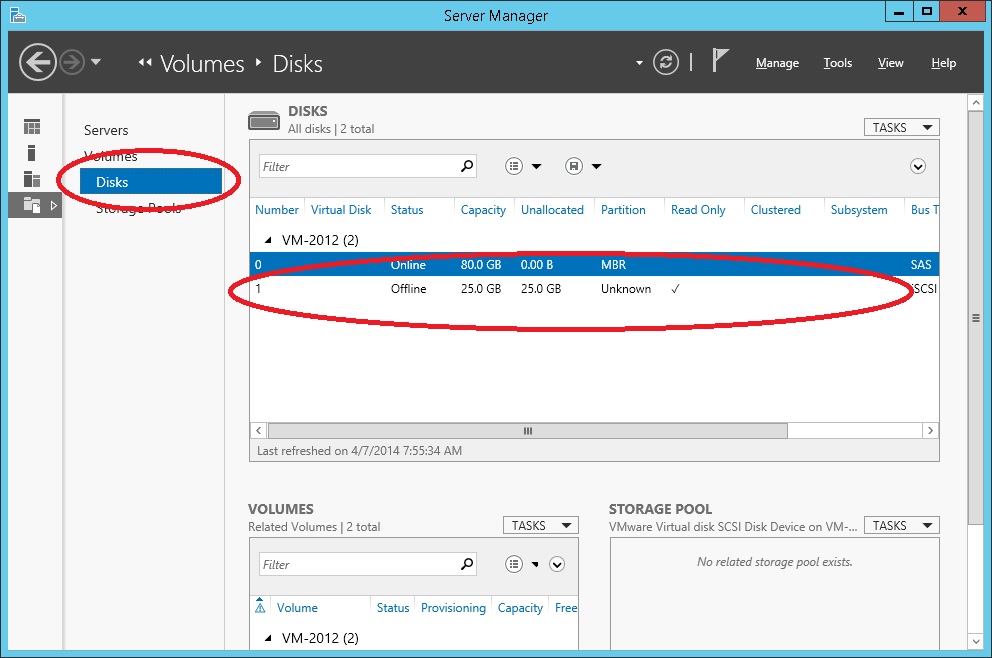
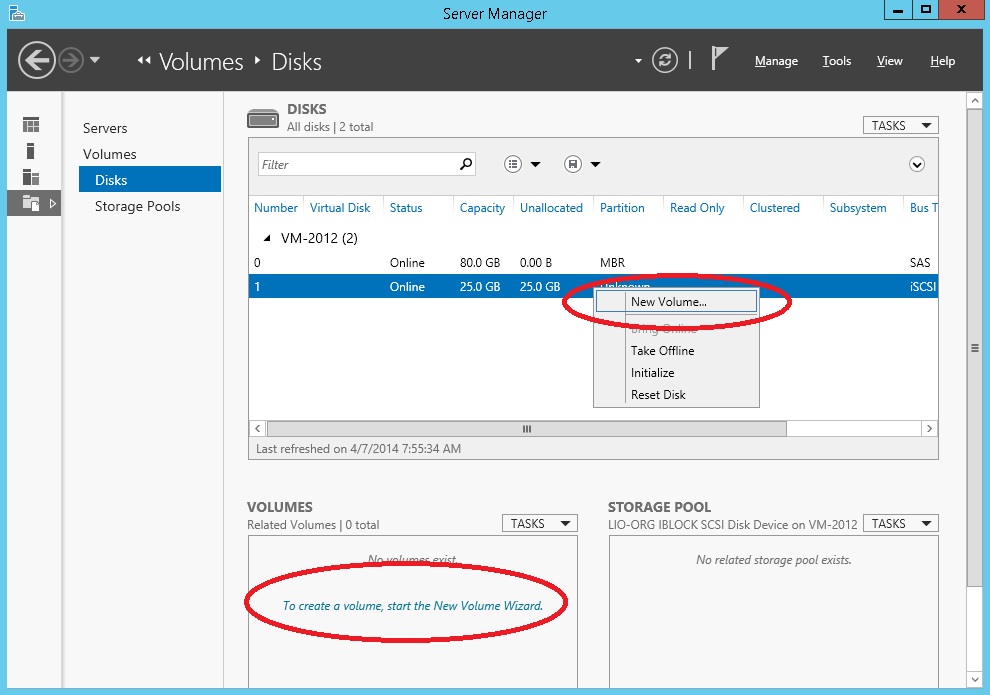
- Select "Disks" on the left. The new disk should be listed as "Offline" and "Unknown".
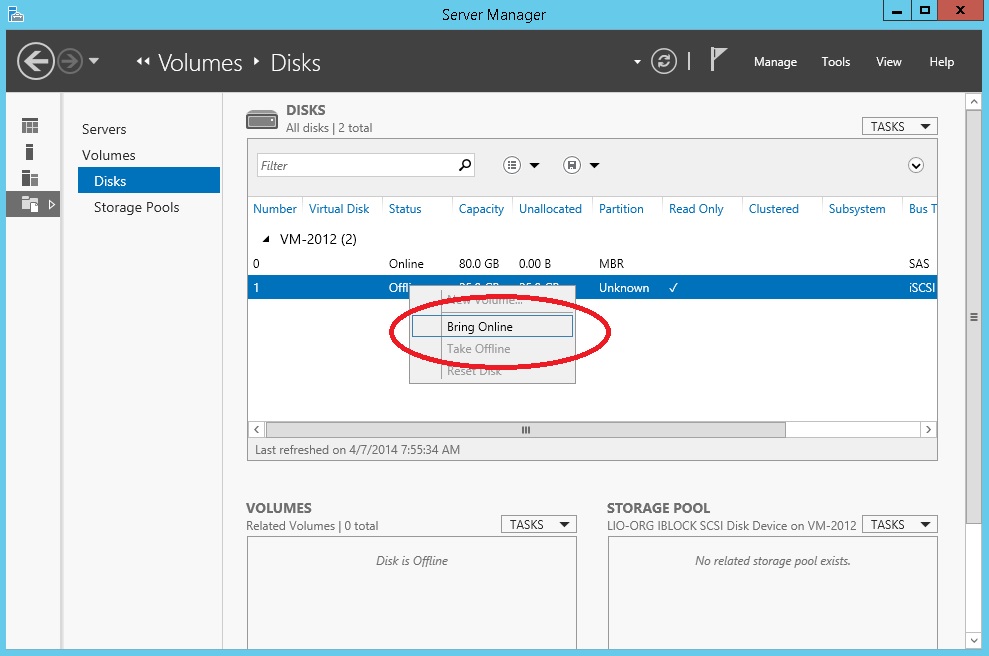
- Right-click the drive and select "Bring Online".
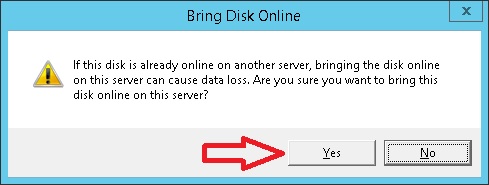
- You may get this warning pop-up. Make sure this disk is not online on another server and click Yes.
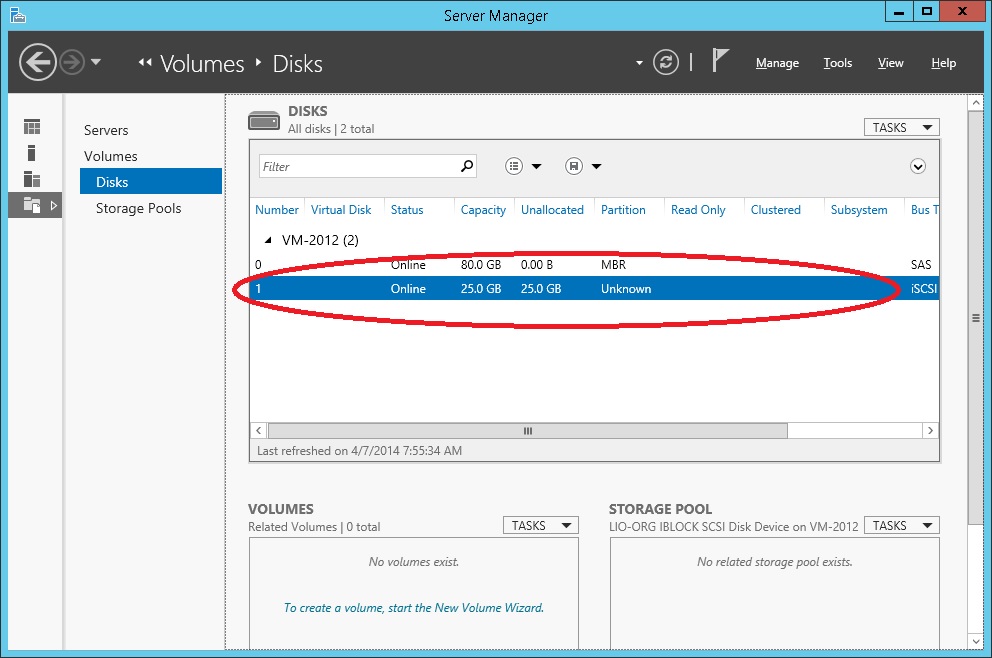
- The disk should now show as "Online" and "Unknown".
- At this point you can either right-click the drive and select "New Volume" or you can click the link under "VOLUMES" to start the New Volume Wizard.
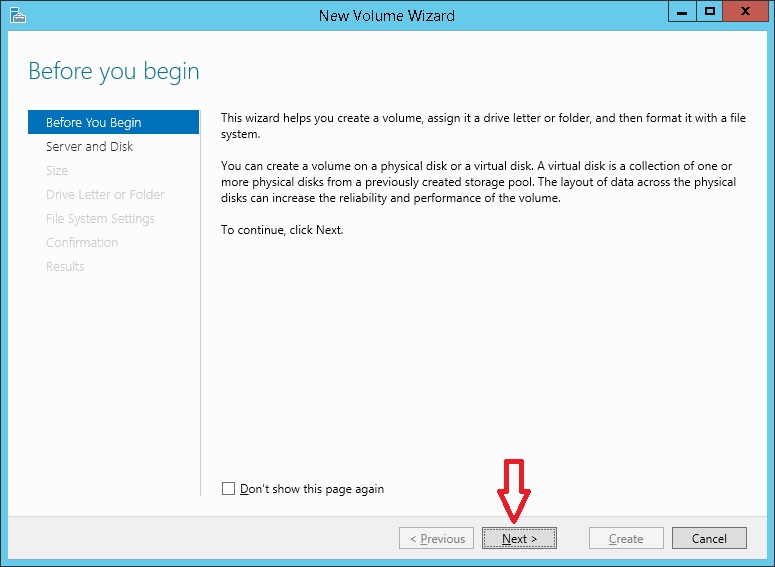
- If the option "Don't show this page again" has been selected previously, you won't get this page. Otherwise, click Next.
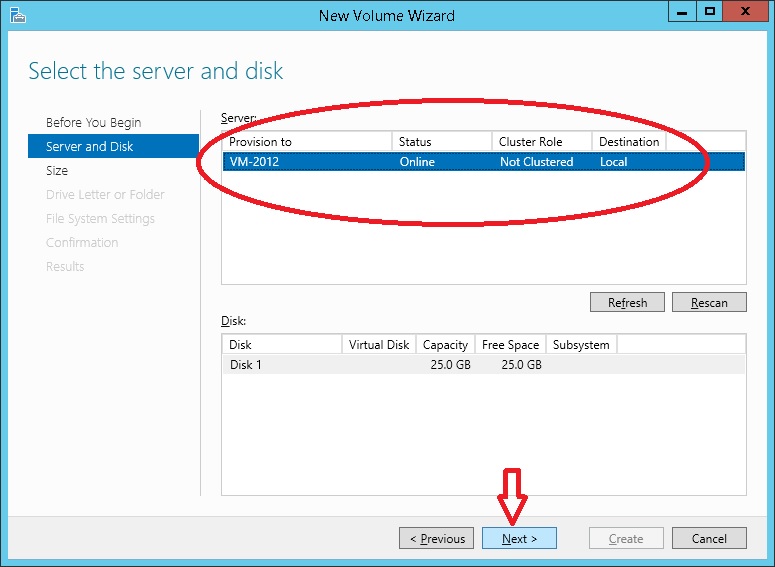
- Select the drive shown and click Next.
Note: If the cluster role shows as "Clustered", refer to Microsoft documentation for configuring failover clustering in Windows Server 2012 and do not continue with this document.
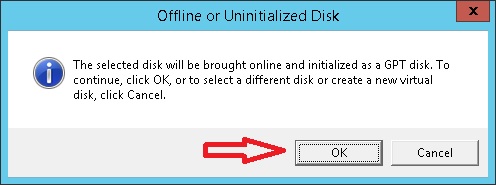
- The following pop-up appears. Click OK.
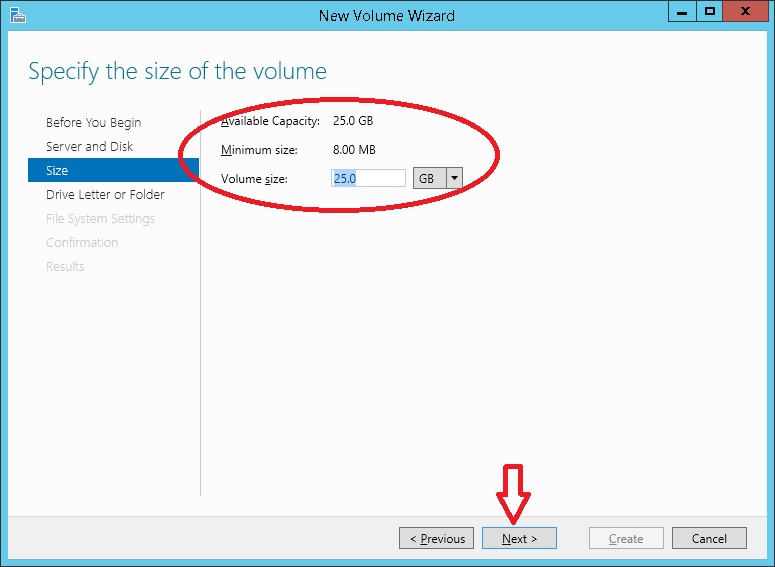
- Unless absolutely necessary, leave size at the default (the entire disk). Click Next.
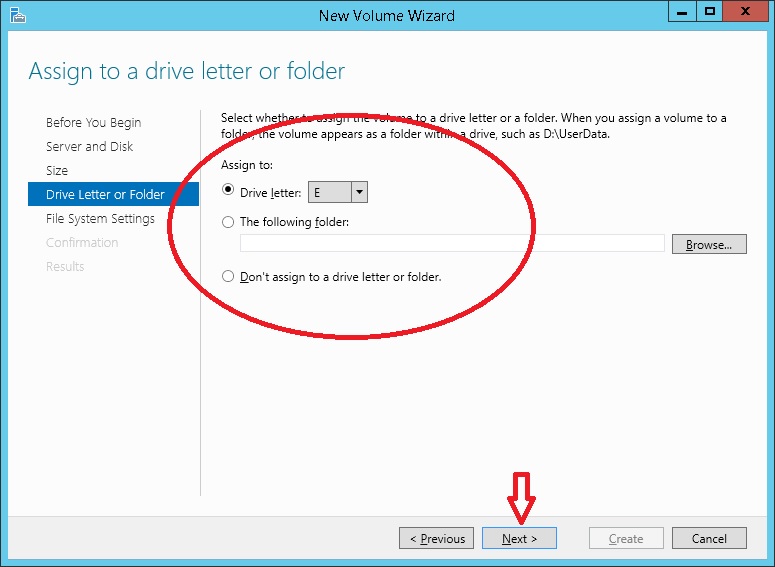
- Select the drive letter desired and click Next.
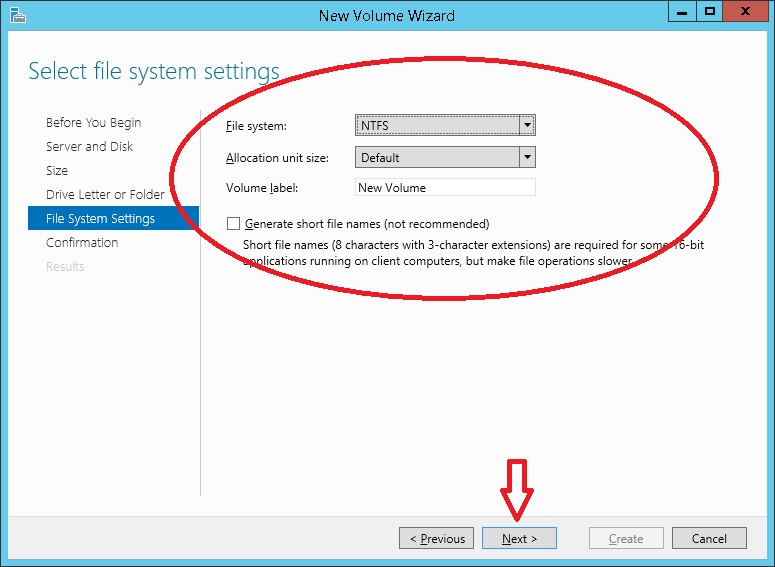
- In this step you can create a volume label and then click Next.
Note: Unless there is a very specific reason to do so, do not change the allocation unit size!
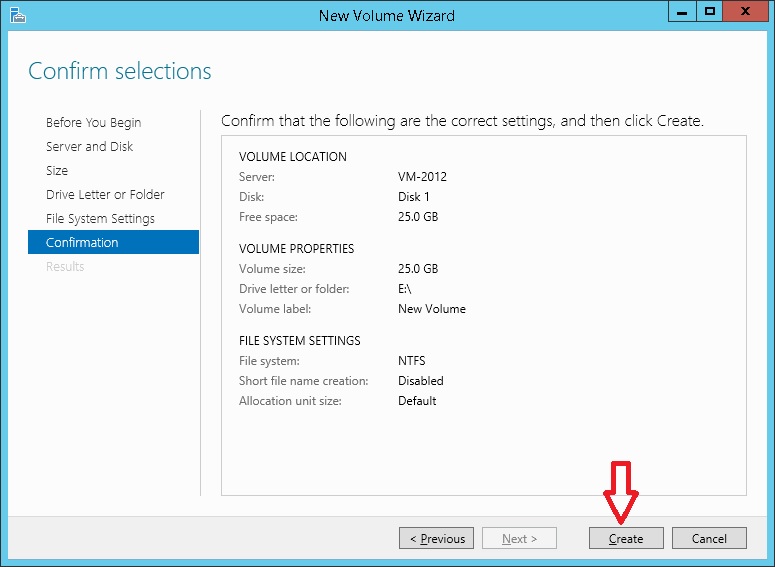
- Verify that all information is correct and click Create.
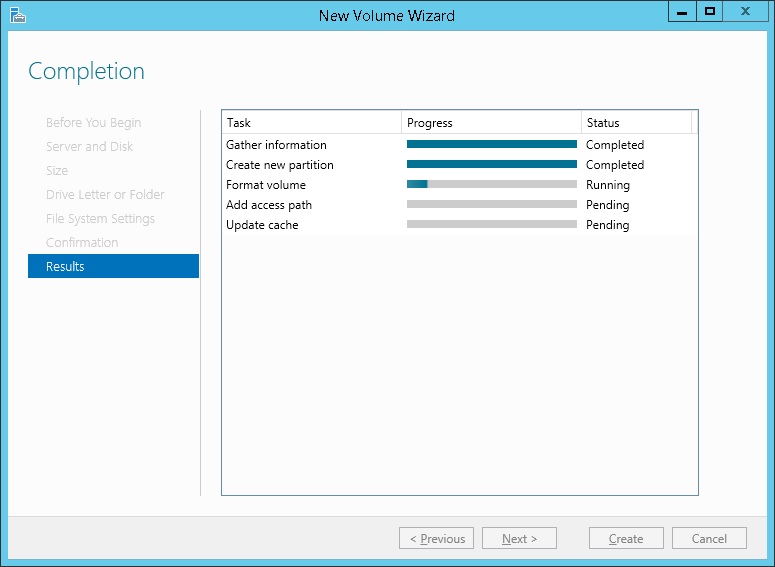
- The volume creation process will run. Depending on the size of the volume created, this could take several minutes.
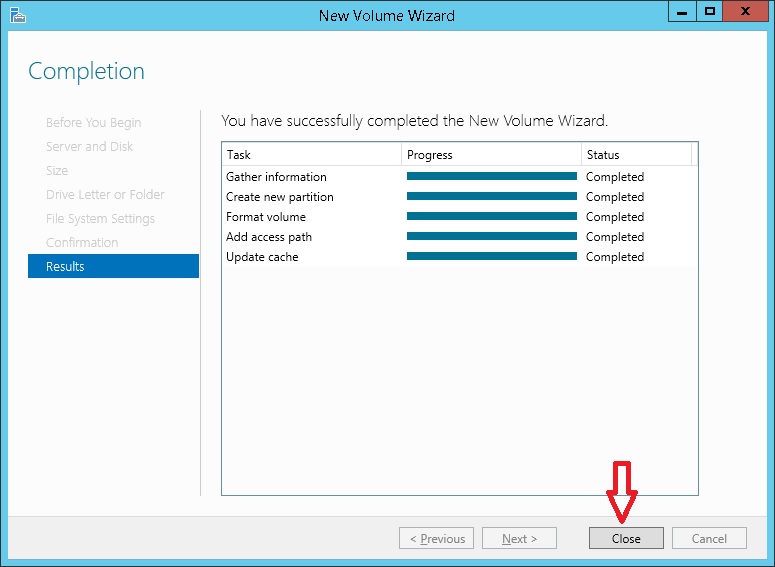
- Once the process finishes, click Close.
- The disk should now show as "Online" and "GPT". The new drive letter should be listed under "VOLUMES".
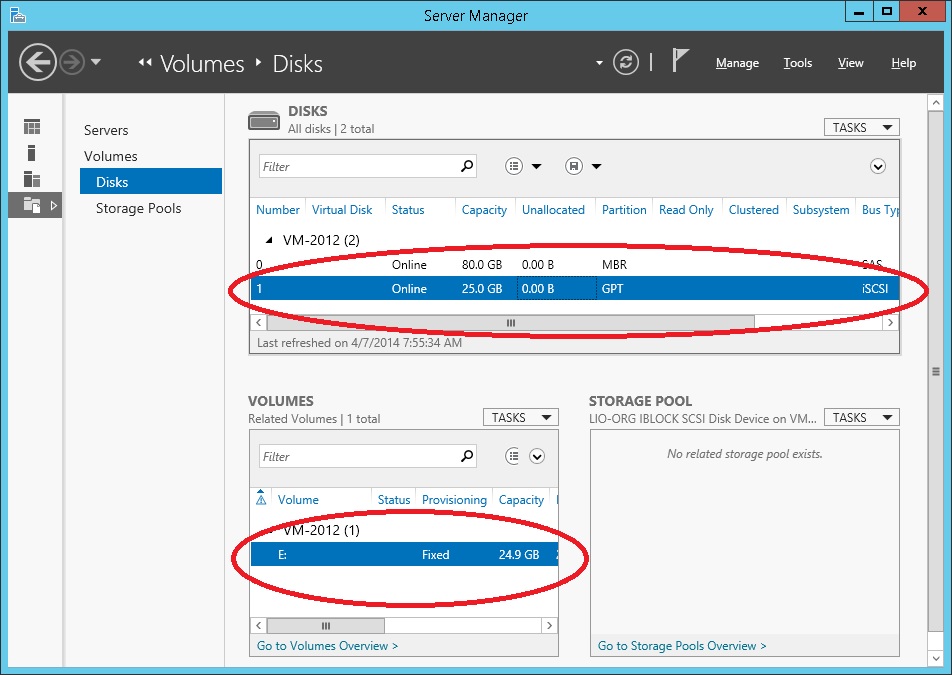
The process is now finished. The new drive is ready for data.