Knowledge Base
Search by either entering keywords or by selecting a product.
Creating a TeraStation 5000 Recover Key from a Downloaded Image
- Download the bootable USB recovery image for your TS5000 model from www.buffalotech.com.
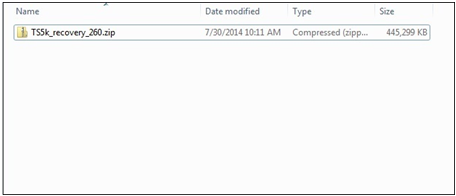
- You should get a .zip file similar to the image below.
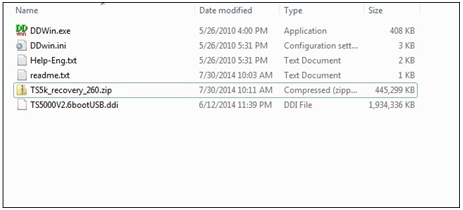
- Extract the file and you should get a list of files similar to the image below. The readme file will also contain these instructions.
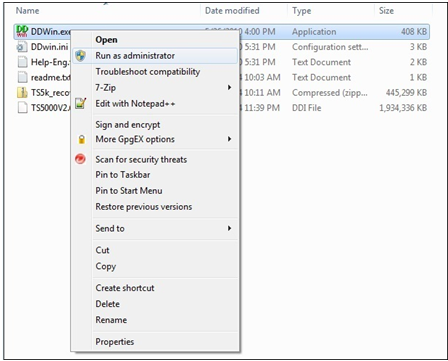
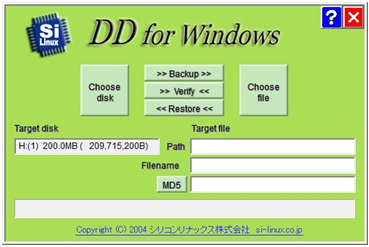
- Right-click on the DDWin.exe file and choose "Run As Administrator".
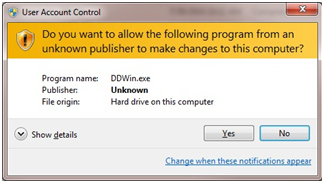
- Depending on your Windows security settings, the following warning may appear. If it does, click Yes.
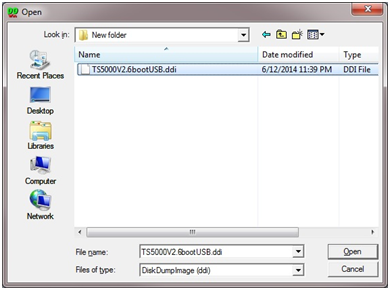
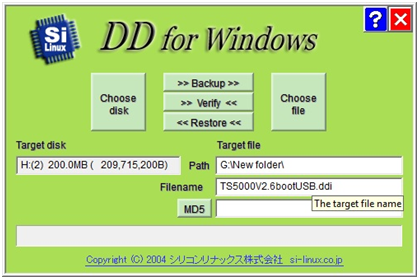
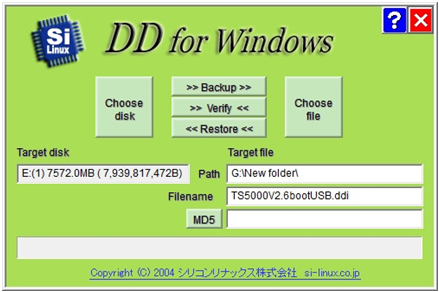
- Click Choose File.
- Navigate to the folder containing the files and choose the file with the .ddi extension.
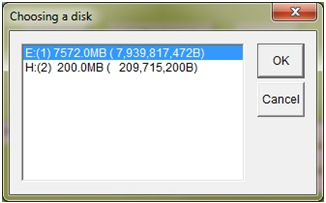
- Click Choose Disk.
- Select the USB key that you want to use for the recovery.
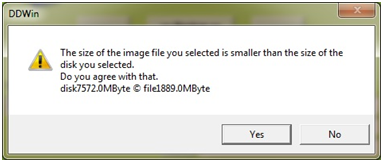
- If the USB key is larger than the image file, this message may appear. If it does, click Yes.
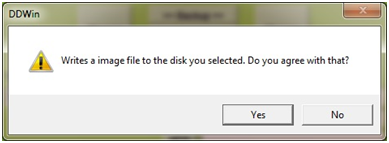
- This message will appear to confirm that you have the correct drive. Verify that the drive is correct and click Yes.
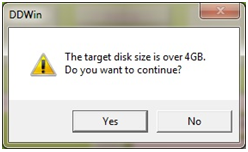
- If the selected drive is larger than 4GB, this message may appear. If it does, click Yes.
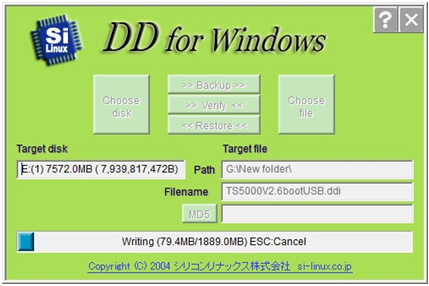
- Click Restore to begin writing the image to the drive.
- The image will be written to the USB drive.
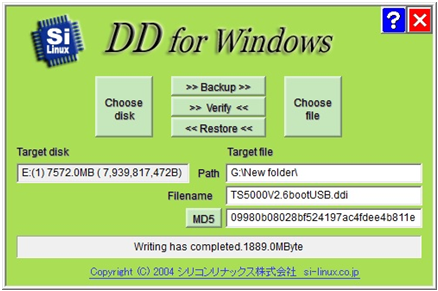
- Once the process is finished you will get the message "Writing has completed". You can exit the program and remove the USB drive. Please note that the drive will no longer be readable from a Windows PC at this point.
The drive is now ready to be used to reinstall the OS on a TeraStation 5000 unit. It is recommended that after installation you update the TeraStation to the latest firmware version available from www.buffalotech.com.